02-07-02. Journal Setting
[ PREVIOUS ] < | > [ N E X T ]
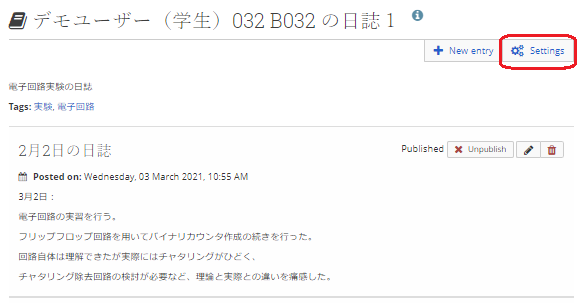
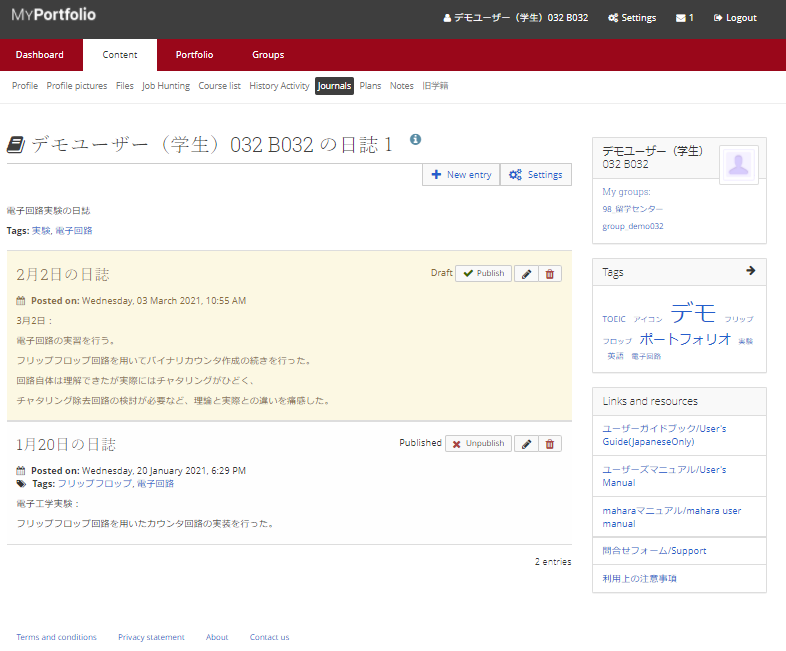
To set up the logbook, click “Settings” from the journal screen.
Fig: E2-7-2-1
The setting screen is shown below.
Fig: E2-7-2-2
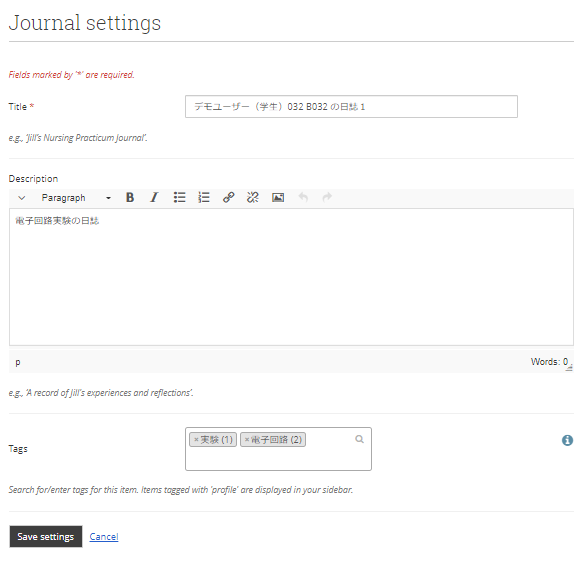
Title:
Enter the title of the journal.
Description:
Enter a description for the journal.
Tags:
Enter the tags you want to attach to the entry.
Tags make it easier for other users to find your entry.
When you are done creating, click the “Save Settings” button to add the entry.
Create a journal
In section 2-7-1, you could create daily events as entries in the journal.
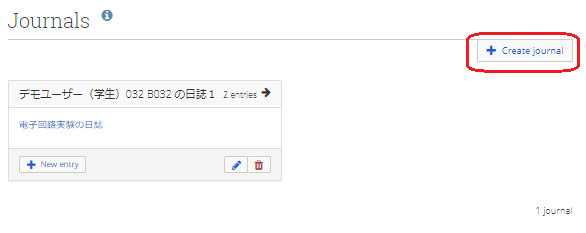
If you want to create a new journal that contains the daily entries, click the “Create journal” button.
To create a new journal containing daily entries, click the “Create journal” button.
If you want to organize multiple daily entries under different themes, you can create a new journal and give each journal a theme, and record entries in each journal for easier management.
Fig: E2-7-2-3
The screen for creating a logbook is the same as the logbook settings screen.
When you create a new logbook, the screen will look like this.
Fig: E2-7-2-4
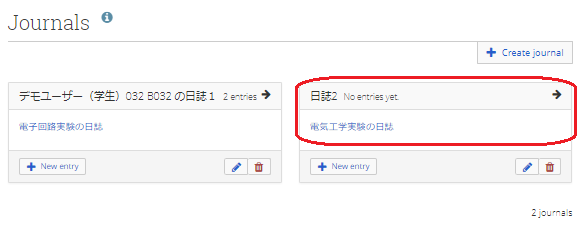
Now, click on the red frame area to see the entries in the journal.
Fig: E2-7-2-5
For details on editing each entry, please refer to section 2-7-1.
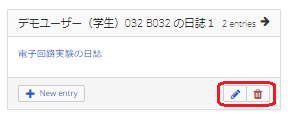
To edit the title or summary of the journal, click on the pencil button.
Fig: E2-7-2-6
The edit screen is the same screen as when creating the journal.
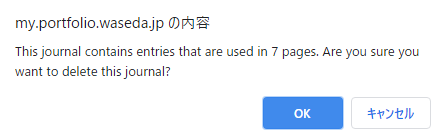
To delete the entire journal, click on the trash button.
Please note that if there are entries in the journal, a confirmation dialog will appear, but clicking “OK” will delete the entire journal, including the entries inside.
Fig: E2-7-2-7
< Manual TOP > [ MyPortfolio ] < Page TOP >
- Title: 02-07-02. Journal Setting
- Category: 02. Content / 02-07. Journals
- Page ID: en-student-mp020702

