04-01. Creating information
- Memo
- You cannot create an information folder. Only notices can be created in the information folder.
The following explains how to create a notice.
- In the My Courses window, double-click the course of which notice you want to create.
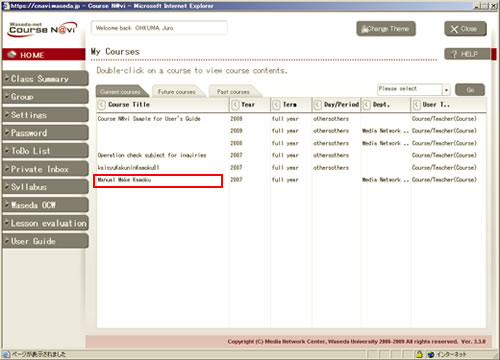
- The Lectures window appears.
Click the お知らせ (Information) folder.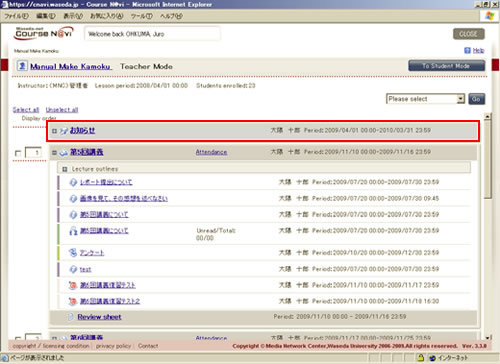
- From the operation list box, select [Information ArticleMake] and click .
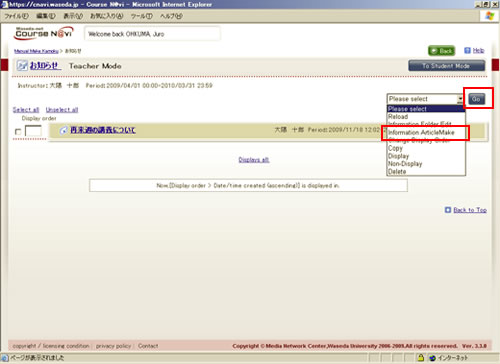
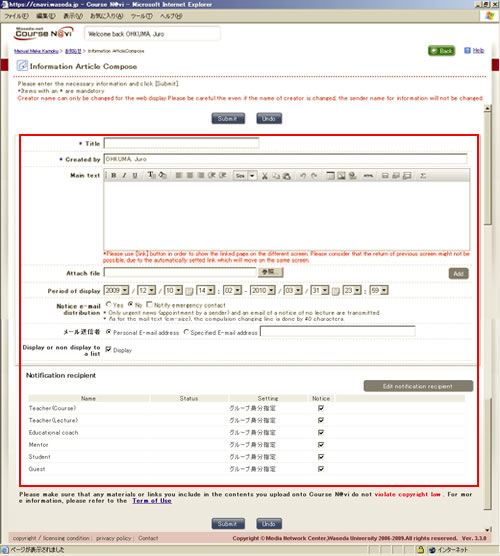
- Enter the [Title] and necessary information, and click .
- Memo
- By default, a notice is sent to "everyone except management." To distribute notice e-mail to management as well, include "management (department office staff in charge of Course N@vi)" by using when submitting the notice.
Or, change the default setting in Edit course settings.
"03-01-04. How to read the Lectures window" - Memo
- If you want to contact students by e-mail, check [Yes] for [Notice e-mail distribution]. The [notice] will be sent to students by e-mail.

The e-mail message to be sent is similar to the one shown below.
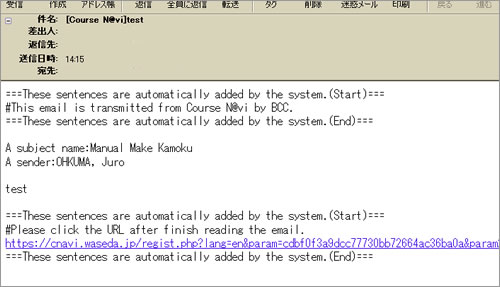
You can specify the sender of the e-mail.

- Reference
- Items in the window ⇒ "Items in the Information ArticleMake"
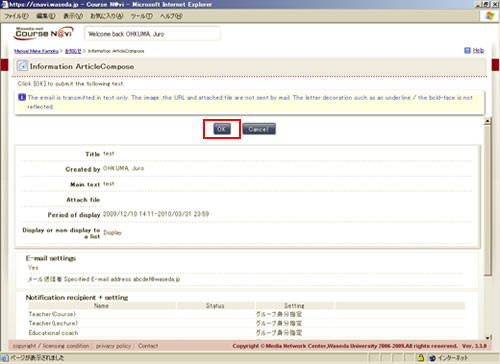
- The Information ArticleCompose window appears.
If there is nothing to change, click .- Memo
- If you want to make a change, click .
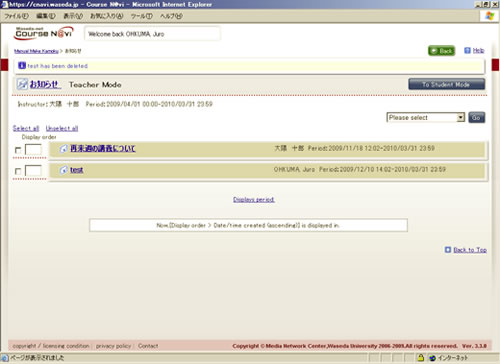
- A notice is created and added in the list of information.
Items in the Information ArticleMake window
| Item | Description | Remarks |
|---|---|---|
| Main Text | Body of the notice |
(1) You can decorate the text. |
| Attach file | Specify a file to be attached that serves as a reference for the notice, if any. | Click and specify the file to be attached. If you want to attach more than one file, click and specify another file. * A file cannot be attached to e-mail. |
| Period of display | Period when the notice is displayed | The default value is the period from the current day until the last day of the display period of the course. Change the period as needed.
|
| Notice e-mail distribution | Manner of giving notice by e-mail | If you check [Notify emergency contact], the e-mail notice is sent to [MailAddress2] (e-mail address on their mobile phone, etc.) that individual students registered in their profile as well as the Waseda-net e-mail address. |
| Display or non display to a list | Specify whether to show or hide the folder in student mode | If you do not want students to see the notice yet for some reason like preparation, uncheck [Display or non display to a list], and the notice is temporarily hidden (shown in teacher mode). When you decide to show it, check [Display or non display to a list]. |
| E-mail sender | Specify the address of the notice e-mail sender. | You can select either Personal E-mail address or Specified E-mail address. |
| Notification recipient | Set the people who are informed of the notice. | 【Setting procedure】
|