06-01-02. Creating a material content
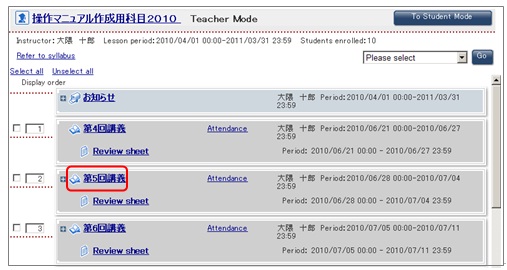
- In the Lectures window, click the lecture folder name of which material content you want to create.
- Memo
- You can create material contents not only in a lecture folder but also directly in the My Courses. You can also create a folder and create material contents in that folder.
- The information of the selected lecture folder is displayed.
From the operation list box, select [MaterialMake] and click .
- Enter the [Title] in the Material Creation window.
- Reference
- Items in the window ⇒ "Items in the Material Creation window"
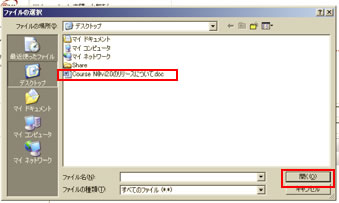
- To attach a file, click .
The file selection window appears. Select the file to attach.- Memo
- The size of an attached file may be up to 10 MB.
- Click .
- The window appears and prompts you to confirm the input information.
If there is nothing to change, click .
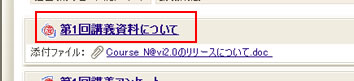
- The material content is created in the lecture folder.
- Check how the material content is shown to students.
Items in the Material Creation window
| Item | Description | Remarks |
|---|---|---|
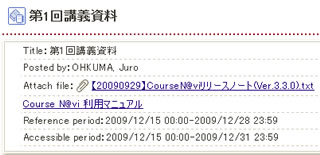
| Title | Title of the material content | Required. |
| Description | Description of the material content | Enter the description of the material content.
(1) You can decorate the text. |
| URL | Specify the URL to be referred to as the material. | Title: Enter the title of the URL. Address: Enter the URL address. |
| Attach file | Specify the file to be referred to as the material. | Click and specify the file to be attached. If you want to attach more than one file, click and specify another file. |
| Display | Whether to open the specified attachment or URL directly or to display the description before opening the file or site. | 【Description】 To display the description of the specified attachment or URL before opening it, set "Description."
Clicking the material content title displays a description window.
[File attachment]: When a student clicks the title of this content in the Lectures window, the file saving/reference window directly opens.
|
| Reference period | Period during which the material content is accessible | When omitted, this period becomes the same as the available period of the lecture folder.
|
| Accessible period | Period during which the material content is accessible as a back number | If omitted, this content cannot be accessed as a back number.
|
| Display in list? | Specify whether to display or hide the content in the list in student mode. | If you do not want students to see the material content yet for some reason, e.g. because the content is not ready, remove the check from the Display checkbox for [Display or non display to a list], and the content is temporarily hidden (it is displayed in teacher mode). To display it back, check the Display checkbox for [Display or non display to a list]. |
| Authorization | Setting of the authority of the user |
 .
.

