01-04-01. Settings
[ PREVIOUS ] < | > [ N E X T ]
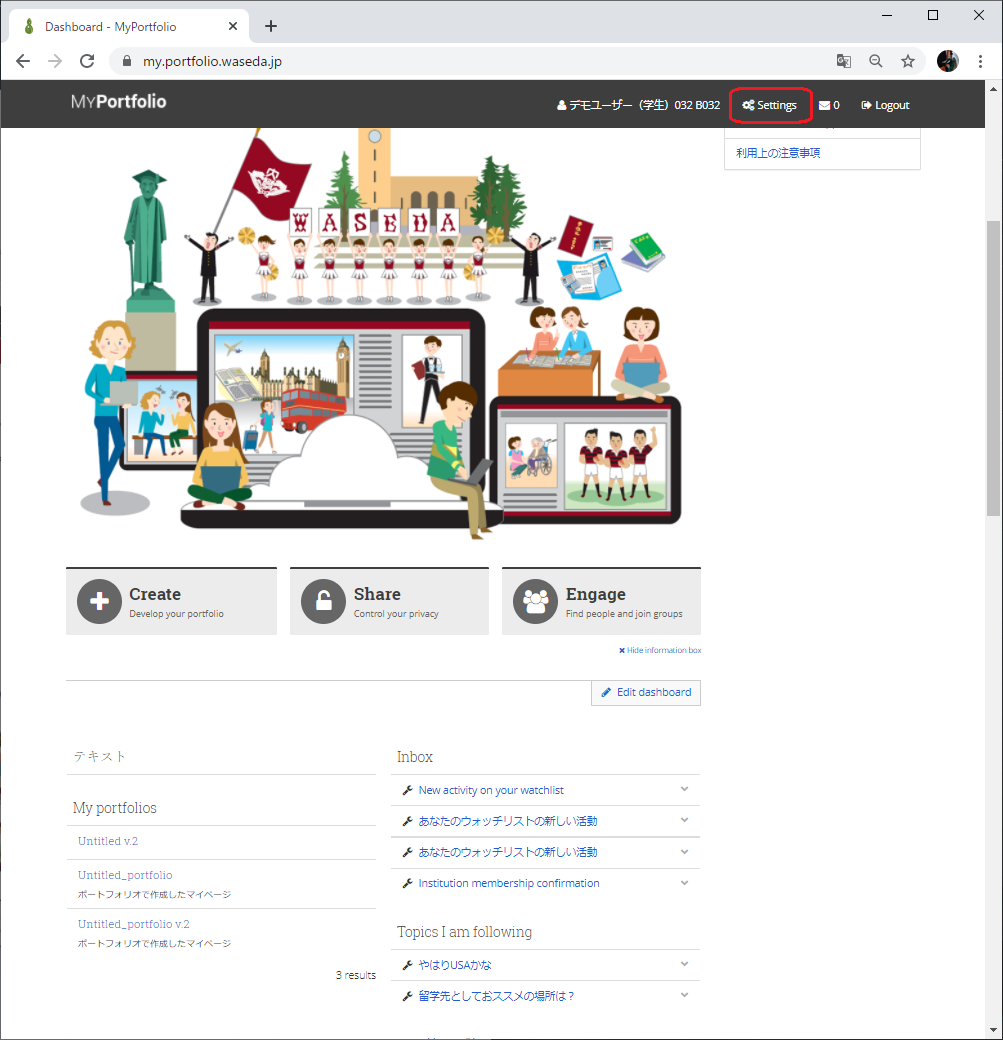
Click the Settings icon on the right side of the dashboard to open the User Settings screen.
Here you can view and edit your password, username, account options, email notification settings, and more.
Fig: E1-4-1-1
Screen Introduction
The settings screen initially looks like the following.
Fig: E1-4-1-2
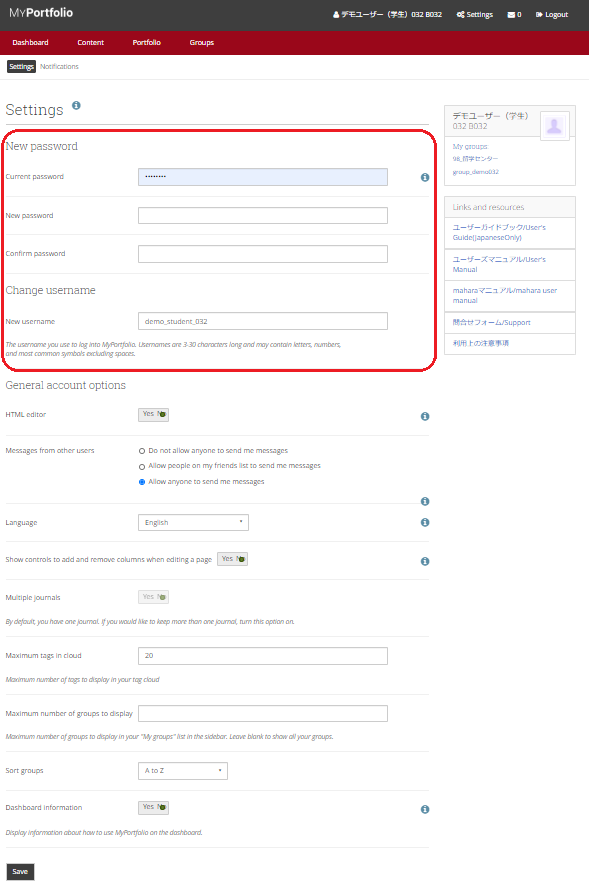
Settings:
You can change your password and user name.
To change your password:
In the “New password” section of the screen, click on.
Enter your current password first, and then enter your new password below it.
In the “Confirm password” field, enter the same password again.
The password must be at least six single-byte alphanumeric characters. The password must contain at least one single-byte number and at least two single-byte alphanumeric characters. The password is case-sensitive. It should be different from your username.
To change your user name:
The current user name is displayed in the “New username” field.
The length of the username should be between 3 and 30 characters. The username should be between 3 and 30 characters in length. The username can be any single-byte alphanumeric character except spaces, and standard symbols.
Fig: E1-4-1-3
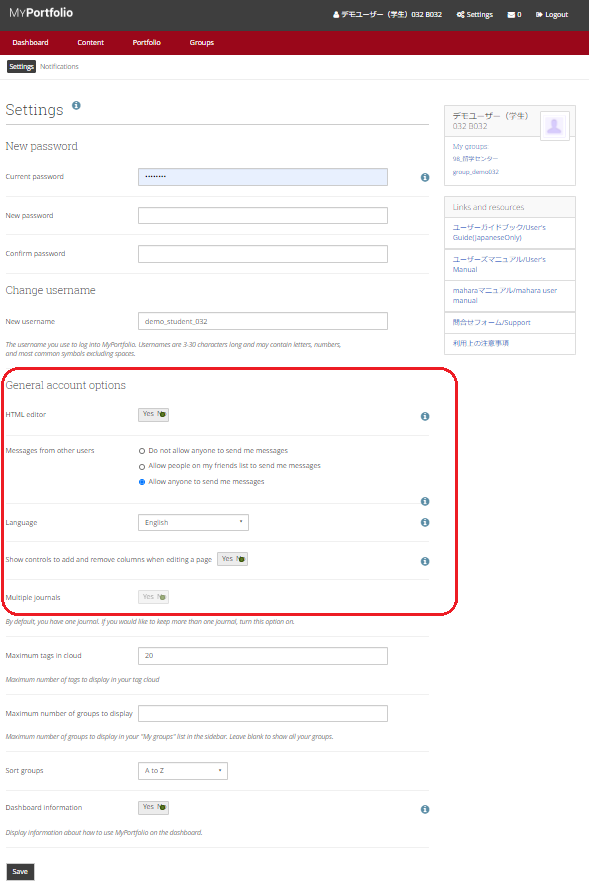
General account options:
Allows you to configure various settings related to the screen display.
HTML editor:
Allows you to enable or disable the HTML editor on the editing screen for each content or page.
If Yes, the HTML editor will be available and you will be able to add various modifications to your content.
If No, the HTML editor will be disabled and only text will be input.
Only administrators can set this option, so please use Yes for normal use.
Messages from other users:
This setting is disabled in our university, so it cannot be used.
Show controls to add and remove columns when editing a page:
Columns can be used to place each block in a page.
Columns are the horizontal rows of blocks that are placed on the page, and adding a column will increase the number of blocks that can be placed horizontally. You can increase the number of blocks that can be arranged horizontally by “adding” a column, and decrease the number of blocks to be arranged by clicking the “delete” button.
Set whether or not the “Add” and “Remove” buttons for columns are displayed when editing a page. Even if they are hidden, you can add or delete columns.
Fig: E1-4-1-4

Fig: E1-4-1-5
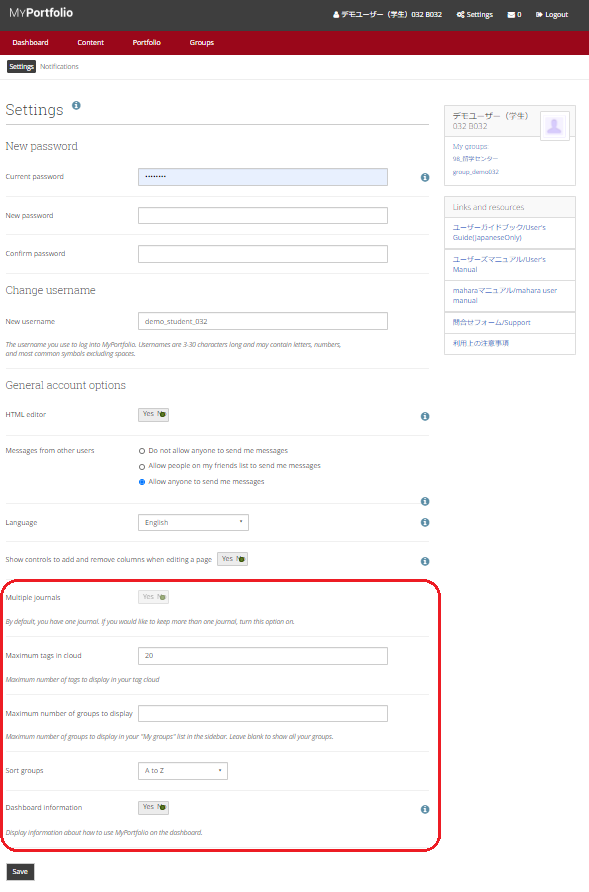
Multiple journals:
If you want to be able to create multiple journals, set this to Yes.
The default setting is No (only one).
If you enable multiple journals, you can create multiple journals and create entries in each journal to keep track of the activities of the group on multiple topics.
Maximum tags in the cloud:
Set the maximum number of tags to be displayed in the tag cloud.
Setting tags makes it easier to search by keywords later or when searching by other users, and you can set how many tags you can have.
Maximum number of groups to display:
The maximum number of groups to be displayed in the “My Groups” list in the sidebar.
Leave it blank if you want to show all of them.
Fig: E1-4-1-6

Sort groups:
Sets the order in which My Groups are displayed.
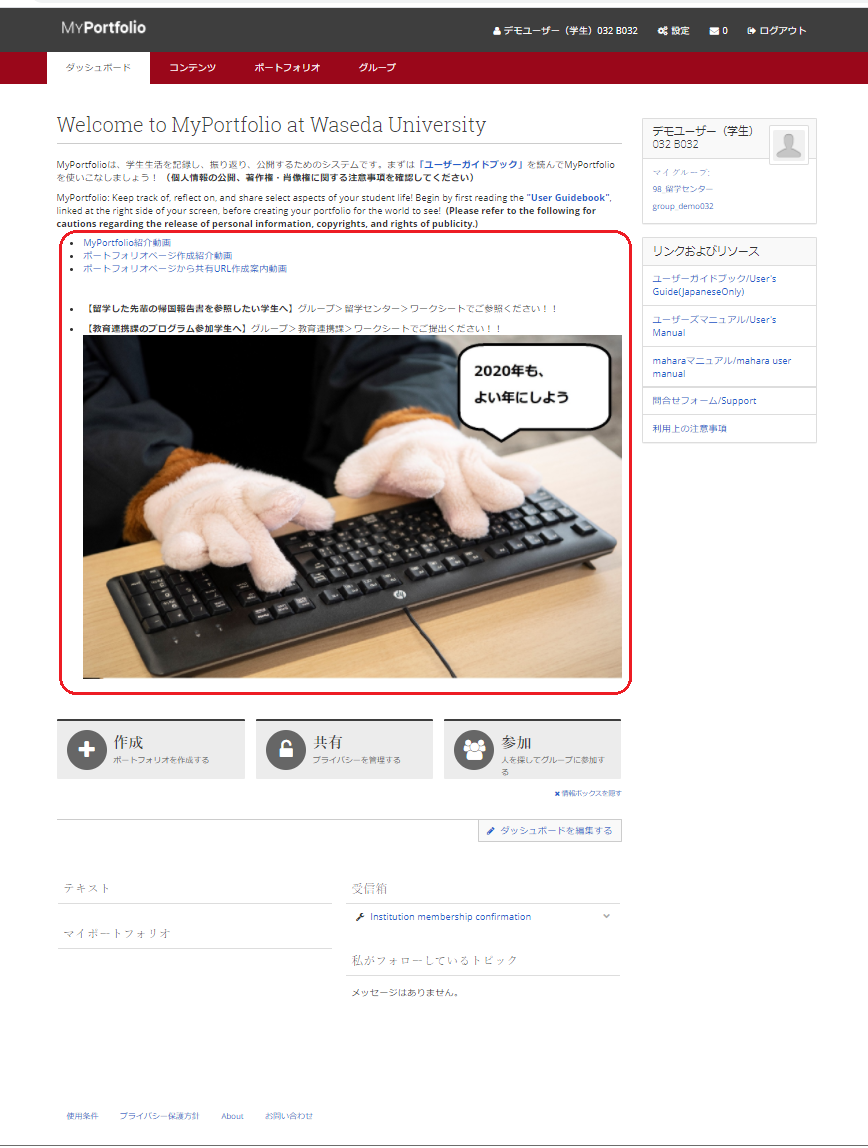
Dashboard Information:
Select Yes if you want to display instructions on how to use MyPortfolio on the dashboard.
If No, the following sections will be hidden.
Fig: E1-4-1-7
Finally, when you are done with the settings, click the “Save” button to update them.
< Manual TOP > [ MyPortfolio ] < Page TOP >
- Title: 01-04-01. Settings
- Category: 01. Dashboard
- Page ID: en-student-mp010401

