03-01-01. Create a page
[ PREVIOUS ] < | > [ N E X T ]
Portfolio/Pages
When you click on “Portfolio,” the “Pages” screen will appear first.
Fig: E3-1-1-1
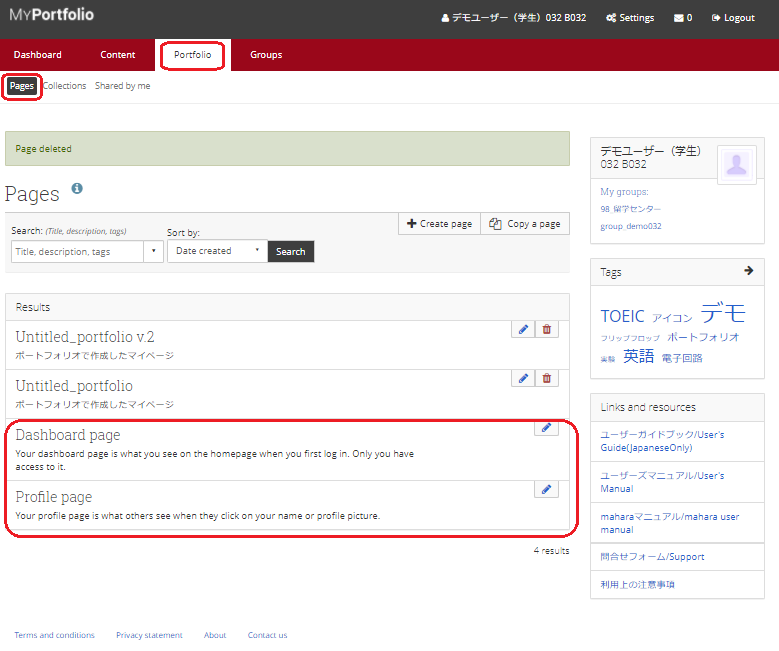
You can search for pages that are relevant to the user by entering keywords in the search box.
The search results will be displayed in the “Results” area.
By default, pages that have already been created will be displayed in the “Results” list in the center.
Dashboard page:
Refers to the page that appears when you click on “Dashboard”. Please refer to section 1-1-1.
Clicking the pencil button will take you to the dashboard page editing page.
This page cannot be deleted.
Profile page:
Refers to the page viewed by the user who clicks on the profile photo. Please refer to section 1-3-1.
Click the pencil button to go to the Edit Profile Page screen. This page cannot be deleted.
Also, only students, faculty, and staff on campus can view the profile page, even if they know the public URL.
Create a page
Click the “Create Page” button to open the page creation window.
Fig: E3-1-1-2
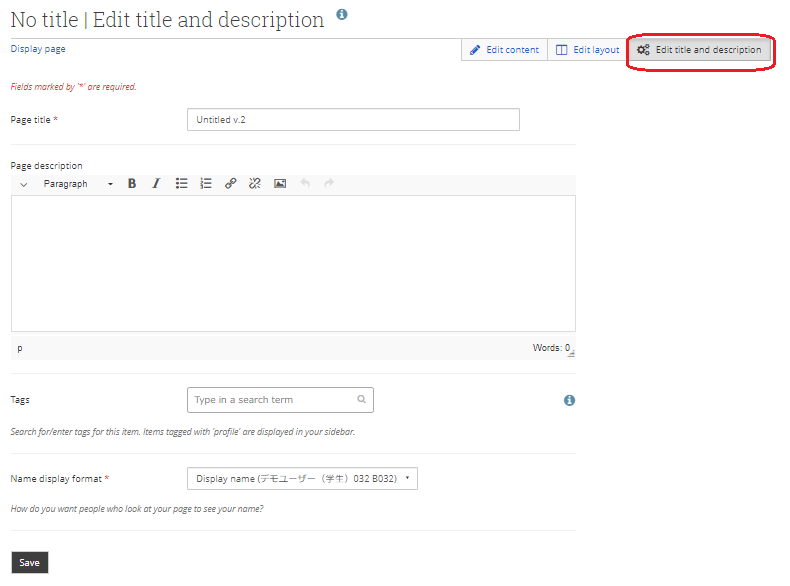
Page title:
Enter the title of the page.
Page description:
Enter the description of the page.
Tags:
Enter the relevant tags.
Name display format:
Select the format in which you would like to display your name.
When you are done entering information, click the “Save” button to update the information.
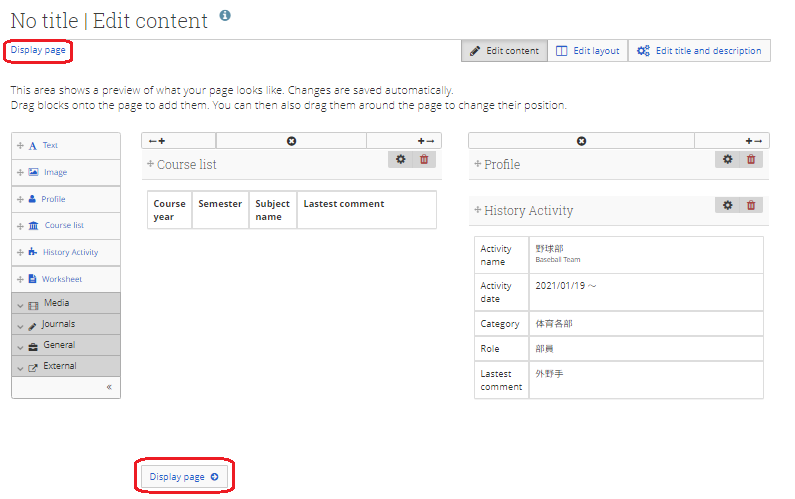
Once you save the title and description, you will be taken to the “Edit Content” screen.
You can also click on the “Edit Content” button later to view it.
You can use this screen to place text, images, profiles, etc. on the page.
Fig: E3-1-1-3

Click on the content you want to add to the page from the menu on the left.
After clicking, set where you want to place it.
Fig: E3-1-1-4
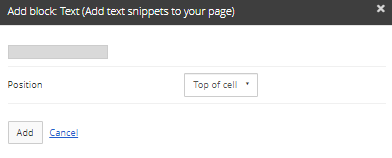
After setting the columns in the upper bar, click the “Add” button to place the contents.
Fig: E3-1-1-5
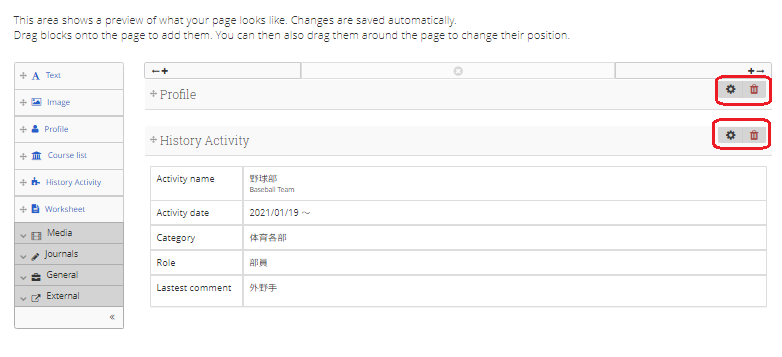
Click the gear button of each block to edit each content.
To delete each block, click the trash can button.
To add more columns, click the “←+” button or the “+→” button.
Fig: E3-1-1-6

Clicking on it will add more columns, and you can add a block to each column.
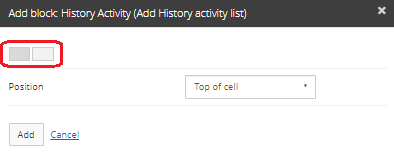
The top bar of the dialog when adding blocks will have two columns, so
Select the column you want to add and click the “Add” button.
Fig: E3-1-1-7
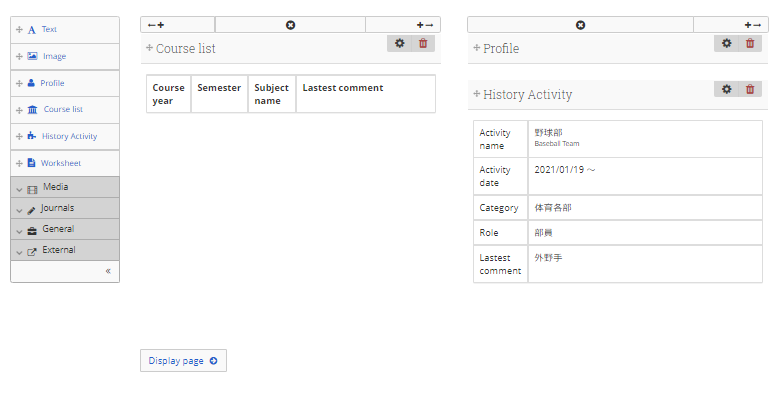
Example after addition:
Fig: E3-1-1-8
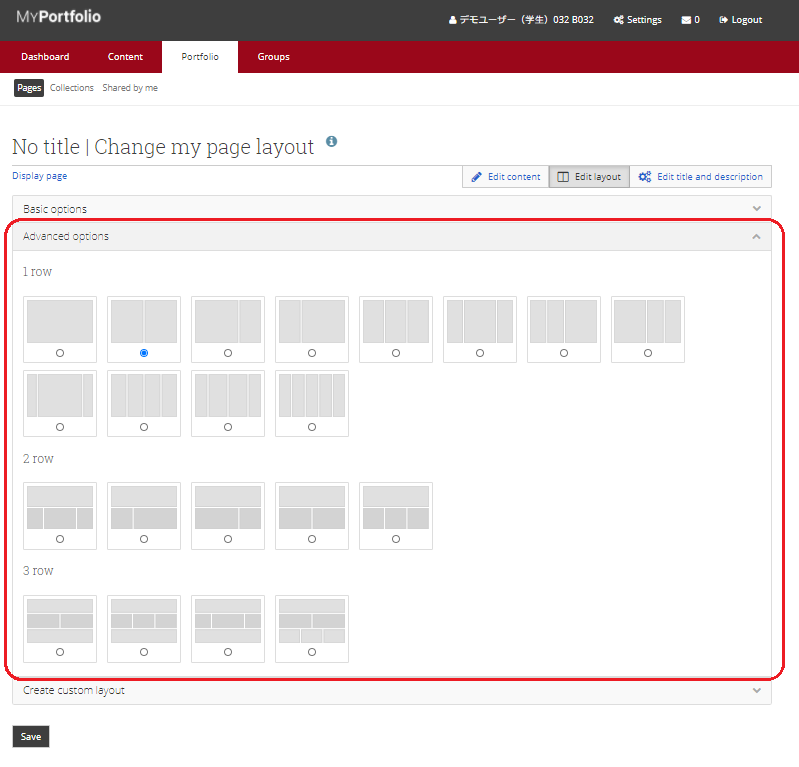
Click “Edit Layout” to adjust the placement of the blocks.
Fig: E3-1-1-9

Adjust the ratio of each column.
The basic option simply adjusts the ratio for each column. You can also adjust it row by row.
For more detailed settings, choose “Advanced Options”.
For more detailed settings, choose “Create Custom Layout” to select the number of columns and the width ratio of each column for each row.
If you want to add your own custom layout, click the “Create new layout” button to set it in the advanced options.
After setting, click the “Save” button to reflect the settings.
Fig: E3-1-1-10
Click on “Display Page” to see the page you have created.
Fig: E3-1-1-11
Example of a page created.
Fig: E3-1-1-12
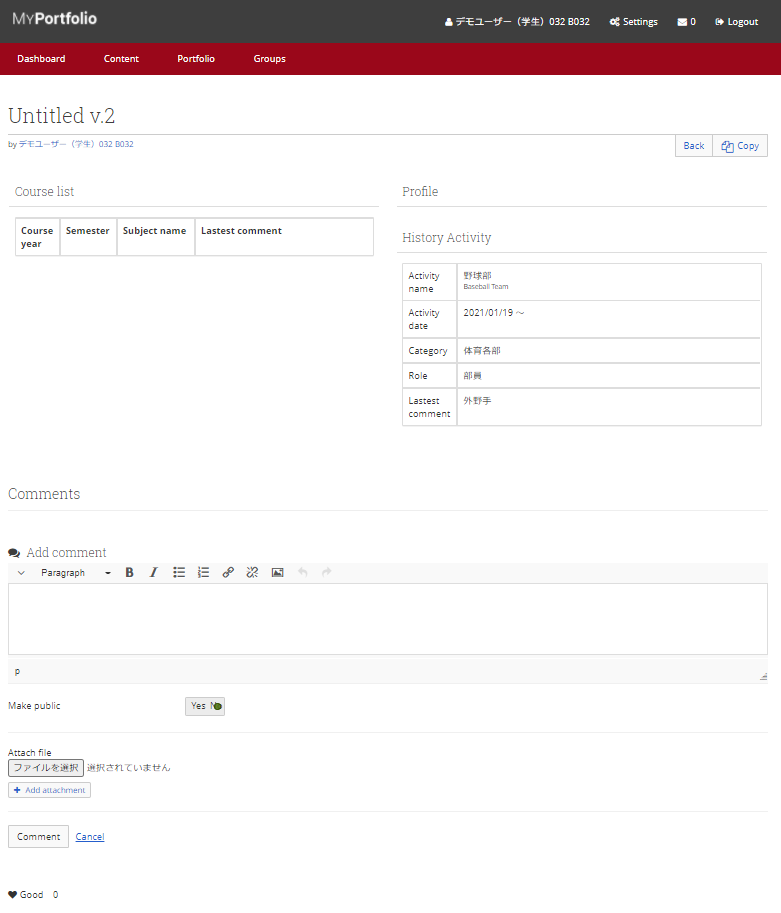
The My Page created in Portfolio will be displayed.
If you want to add a comment to this page, you can do so by clicking “Add a comment.
Comments can be modified in WYSIWYG format.
See section 1-2-1 for details.
If you don’t want to publish this page, set “Make public” to No.
To add an attachment, select a file from “ファイルを選択” (means select file) under “Attach file”.
If you want to add multiple attachments, click the “Add Attachment” button to add other files.
When you have set the comments, attachments, and public settings, click the “Comment” button to add the file.
When other users “Good” this page, it will be counted in the “Good” below.
< Manual TOP > [ MyPortfolio ] < Page TOP >
- Title: 03-01-01. Create a page
- Category: 03. Portfolio
- Page ID: en-student-mp030101

