05-03.Create group
You can create groups in a course. With the groups created here, you can post announcements and materials by each group, and have them submit group assignments.
- Click [Users] from the Course Administration block.
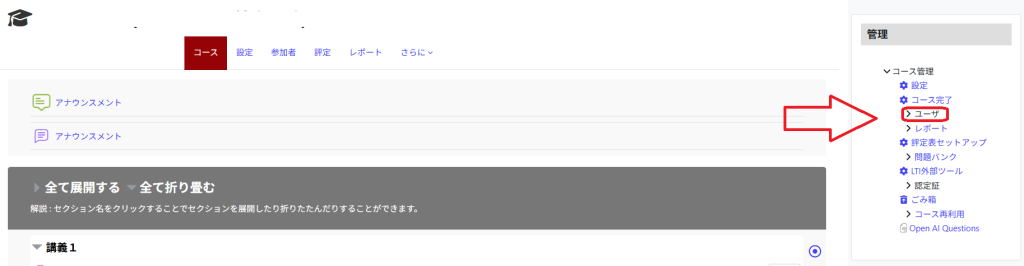
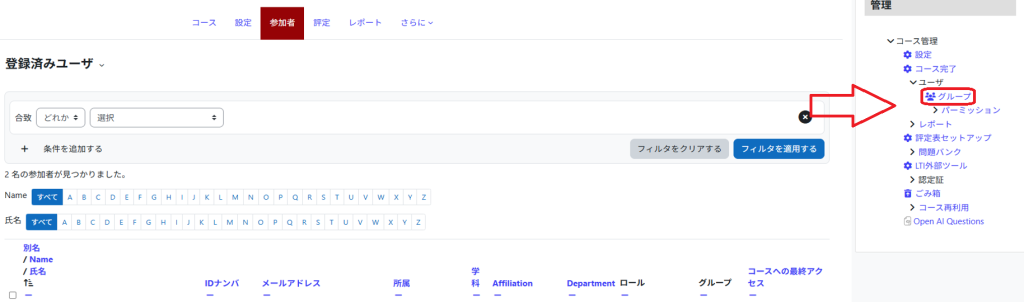
- Select [Groups].
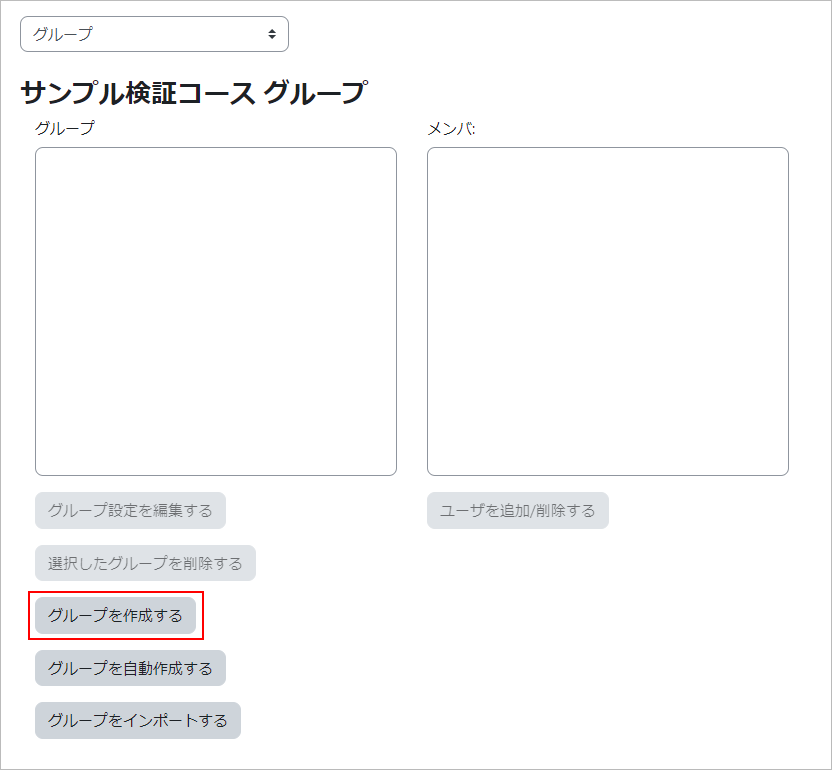
- The Groups screen appears. First, create a group. Click on [Create group].
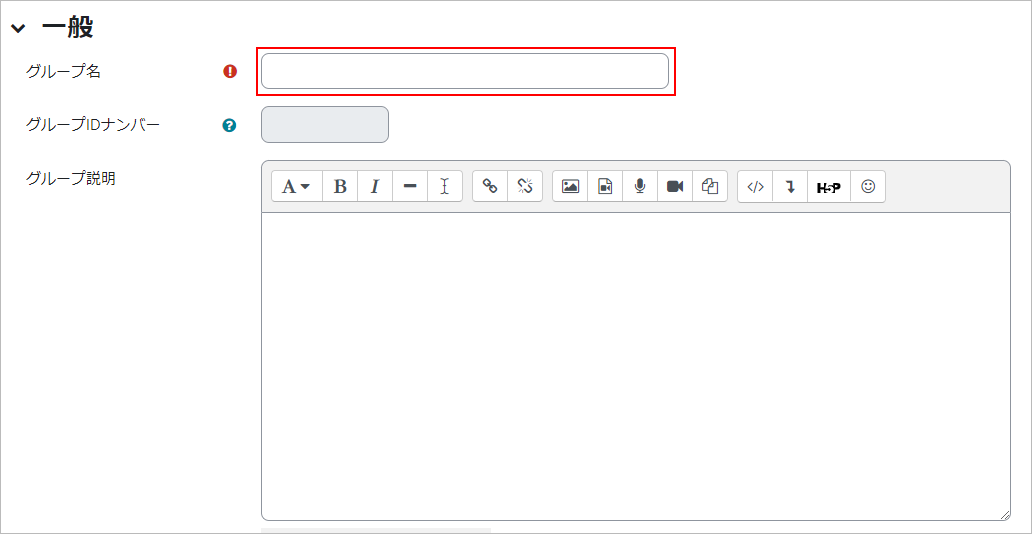
- Enter a ‘Group name’ and click [Save changes].
- The group has been created.
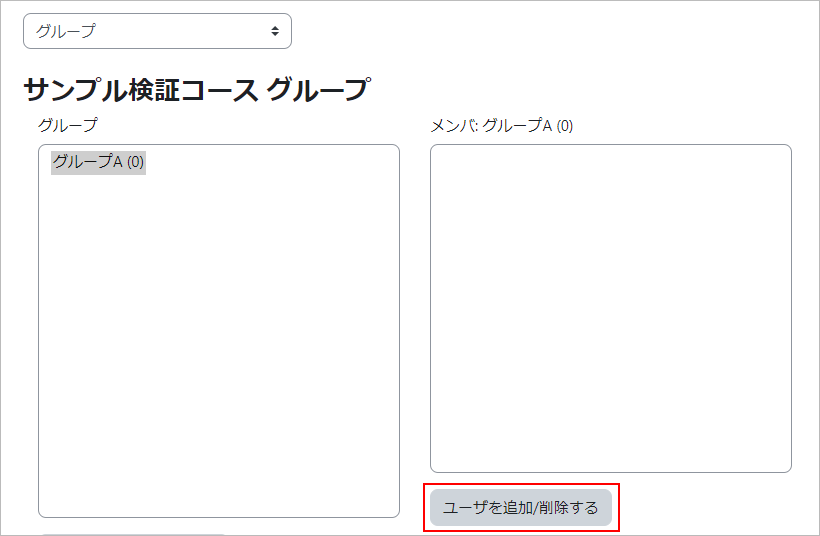
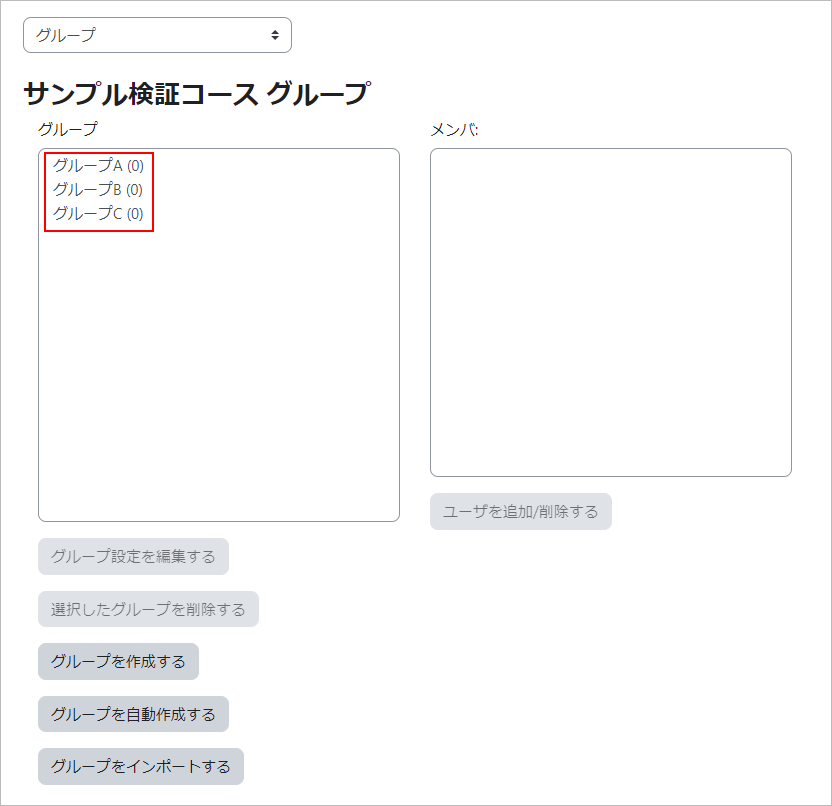
Next, register users to the created group. Select the group to which you want to register users and click [Add/delete users].
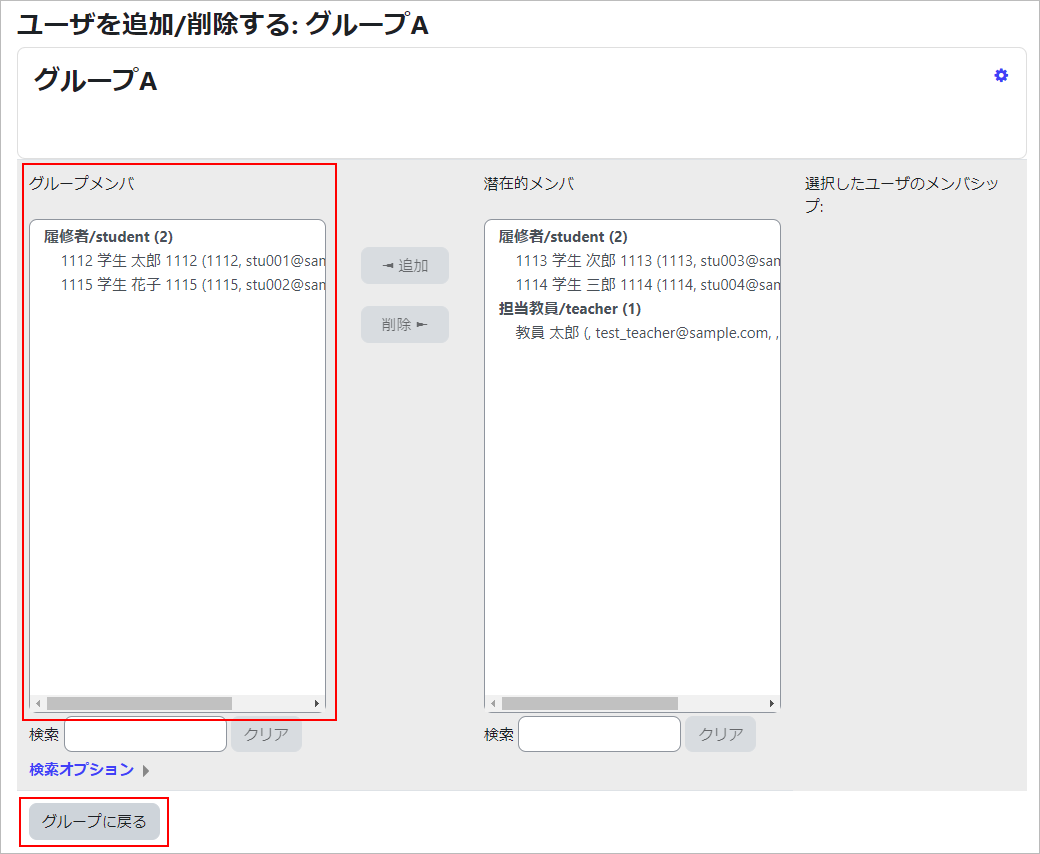
- The course participants (members) are displayed. Select the users you want to add to the group and click [Add].

- Participants in the course (members) will be displayed. Select users to add to the group and click [Add].
- memo
- There is no facility to import group member settings in batches.
It is possible to filter by entering any characters in the text area of the “Search” field at the bottom of the screen.
e.g. Entering “1A21” will filter out students with student number 1A21XXXX.
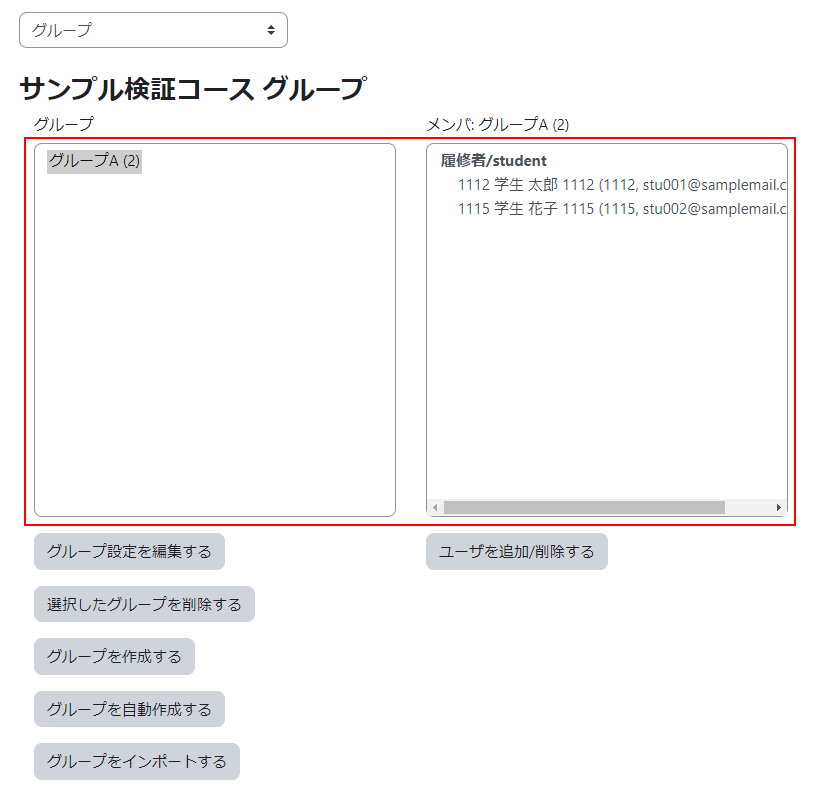
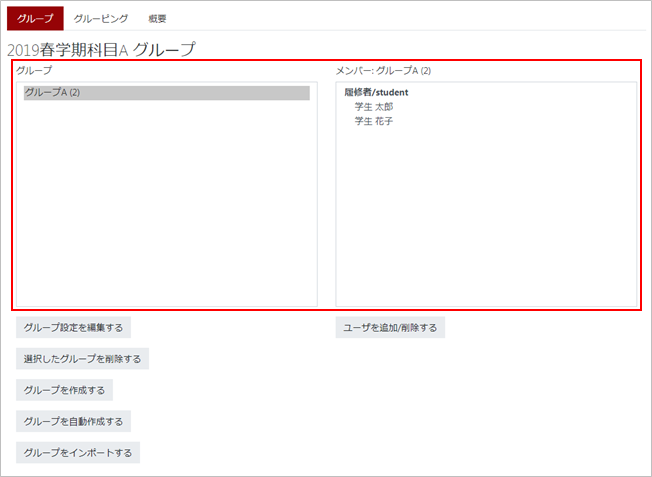
- The group screen shows the created group and its members.
To create another group, repeat the same steps.
- On Groups page, the group created and its members are displayed. To create another group, repeat same procedure.
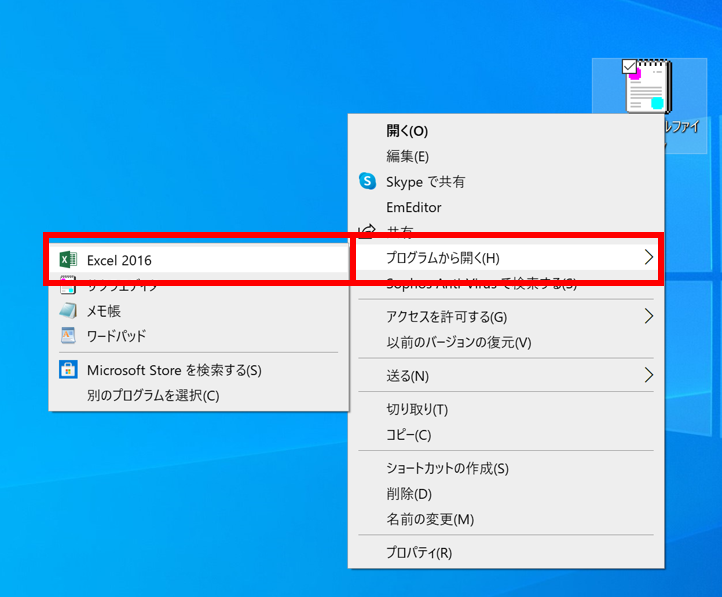
You can also use a CSV file to register groups in bulk.
- Download the sample file. Click here for sample files.
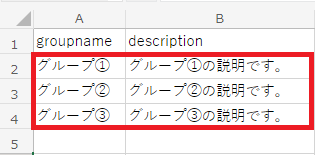
- Open the sample file in Excel.
- Enter the name of the group in the “groupname” column and the description of the group in the “description” column.
- Click on “Import Groups”.
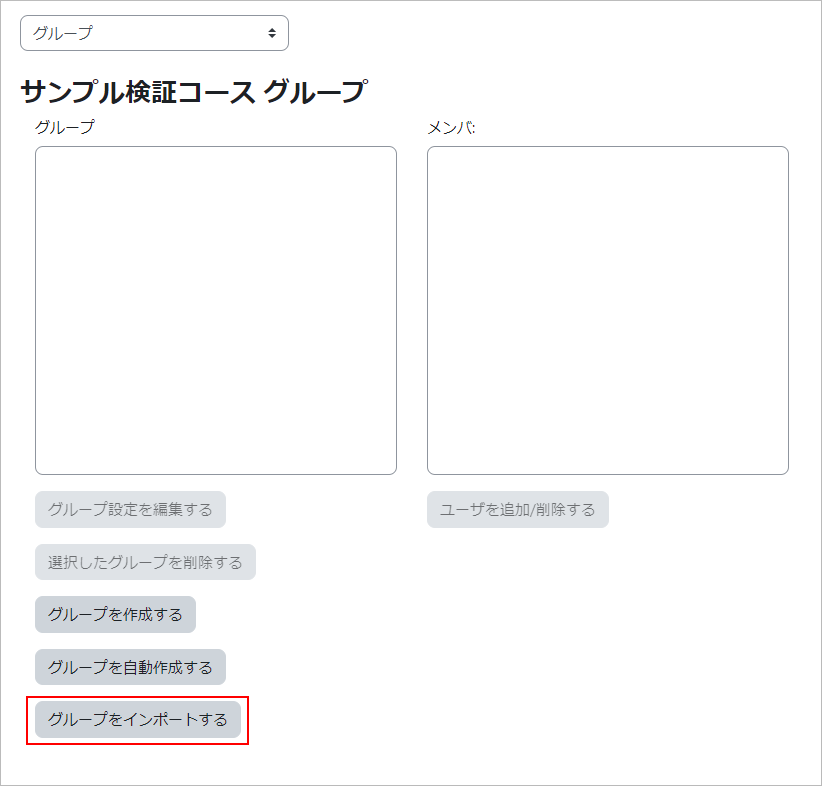
- Drag and drop the configured CSV file to store it, select “SHIFT_JIS” for “Encoding”, and click “Import Groups”.

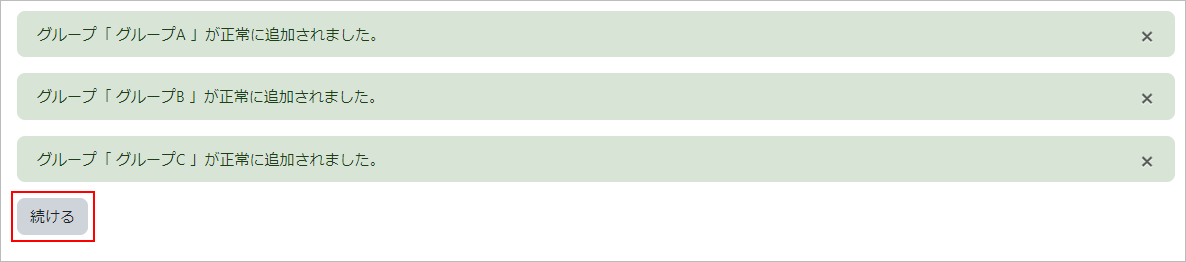
- Registration is complete. Click “Continue” to continue.
- The groups registered in the Groups column will be displayed.
Last Updated on 2025-07-14

