13-01.Attendance
Overview
This is the attendance management function. You can also set students to register their own attendance. A list of course attendees can also be downloaded in Excel format.
- memo
- The following three steps are required to use the “Attendance” function.
1. Create Attendance (as an activity)
2. Add session.
3. Start of session (press button to take attendance).
The procedure for editing “Attendance” is described below.
- Start course editing mode.
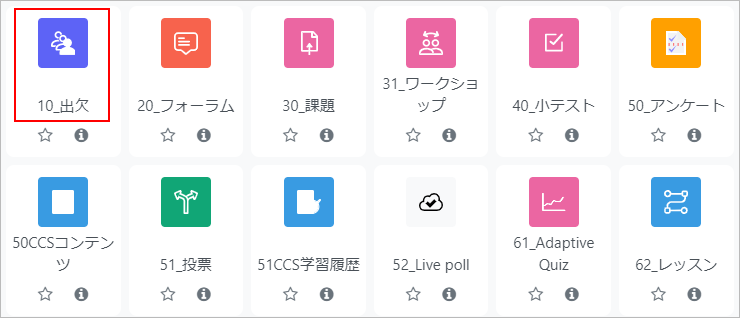
- Click [Add activity or resource] and select [10_Attendance].
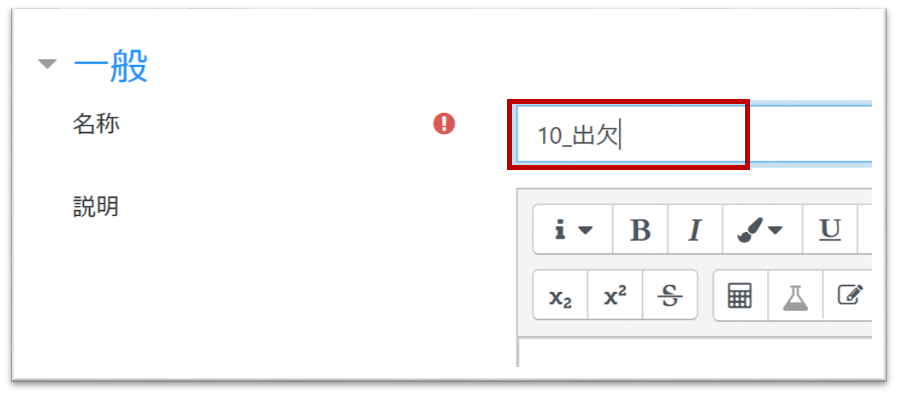
- There is “10_Attendance” entered in “Name.” If you want to change the name, do so here.
- In Grade, set [Maximum grade]. Set minimum grade required to pass in “Grade to pass.”

- Click on [Save and return to course]. The attendance is now added to the course.

The steps for adding a session are described below.
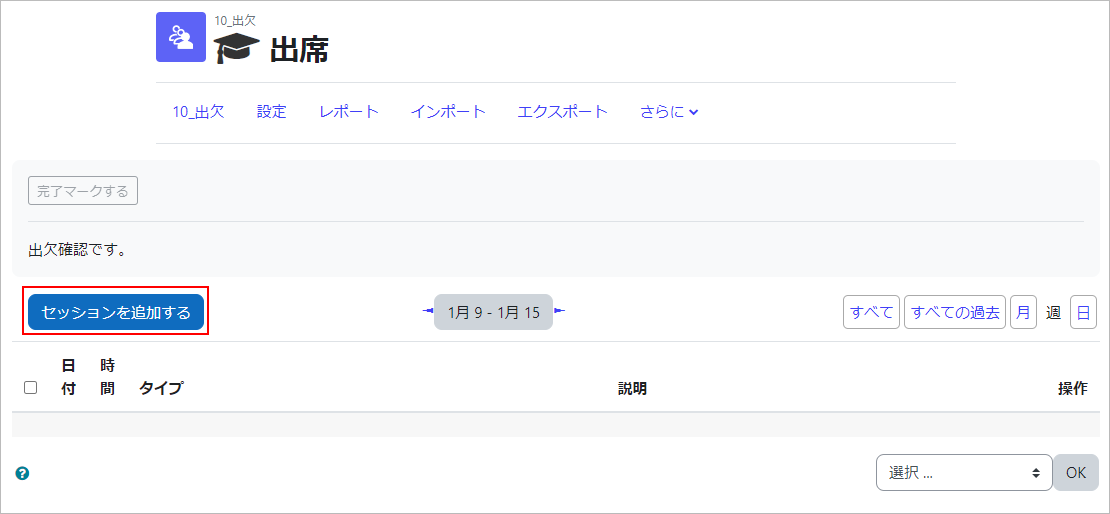
- Click on attendance to open.
- Register a class session. Click [Add session].
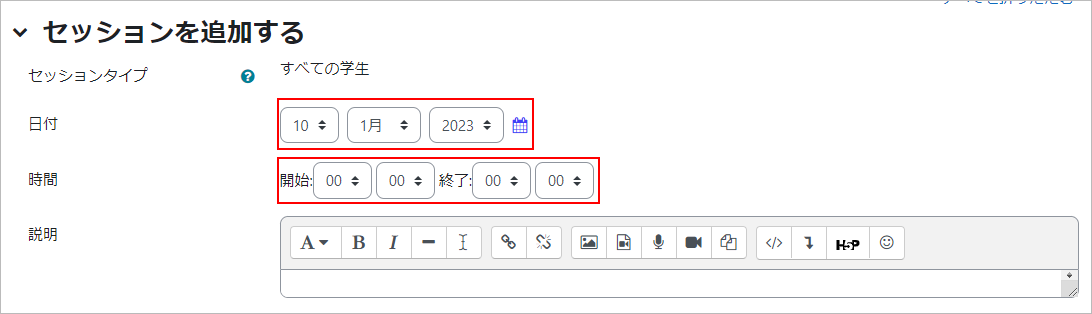
- Set the ‘date’. If you want to set the date every week, for example, you can do this later, so here you set the first class date.
In ‘Time’, set the start and end time.- memo
- Time’ can only be set for a maximum of 24 hours (it cannot span days).
- Set up multiple sessions. To set, check [Repeat the above sessions as follows]. Set the days of the week when classes are held, the weekly interval such as every week or every other week, and the date and time for how long the session will be repeated.

- Note
- Setting a repeat here does not mean that the ‘attendance’ activity will be created repeatedly in other lectures (sections).
<Example.>
Even if you add an “Attendance” activity to a section in Lecture 1 and set up a repeating session for 15 weeks, it does not mean that the “Attendance” activity will be added repeatedly to subsequent sections in Lectures 2, 3, and so on. The “session” will only manage the 15 weeks of attendance in the “attendance” activity added to Lecture 1.
- Set the method for recording attendance of students. If you want students to record their own attendance, check [Allow students to record their own attendance].
To allow students to change their own attendance, check【Allow students to update own attendance】.
In [Student password], set the password for attendance. Random password] will automatically generate a password. If unchecked, a password input box will appear and you can set your own password. If you do not enter anything, there is no password and you will not be asked for a password when you attend.
If [Include QR code] is checked, a QR code will be generated.
If you check [Rotate QR code], the QR code displayed will change every 60 seconds.
If [Select the best available status] is checked, even if a student selects “Late” or “Absent”, it will be recorded as “Attendance”.- Important
- If ‘Automatic marking’ is set to [Yes], attendance is automatically recorded when the student accesses the course, but the following conditions are necessary to implement ‘Automatic marking’ due to the start-up of the programme.
- Please make sure that the session start time to end time is set to at least 30 minutes.
- The ‘Status Set’ is mandatory, and in the ‘Attendance’ section on the screen, set the ‘Student Availability’ to a value within the ‘Session Length – (minus) 20 minutes’.
- If the student only enters the course (subject) before the session start time, the programme will not be activated and automatic marking will not take place. Please inform the students to log in after the session start time or reload (refresh the page) by themselves.
- Refer to:
- ⇒13-01-01. Set points for attendance status

It is also possible to have attendance recorded only when connected to the campus wireless LAN (IP address restriction).
Set the IP address that is listed in “?”(Help button) to 【Default Network Address】.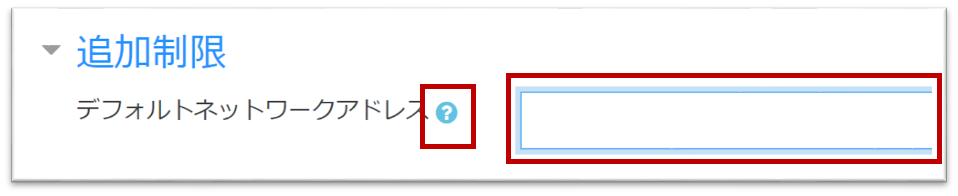
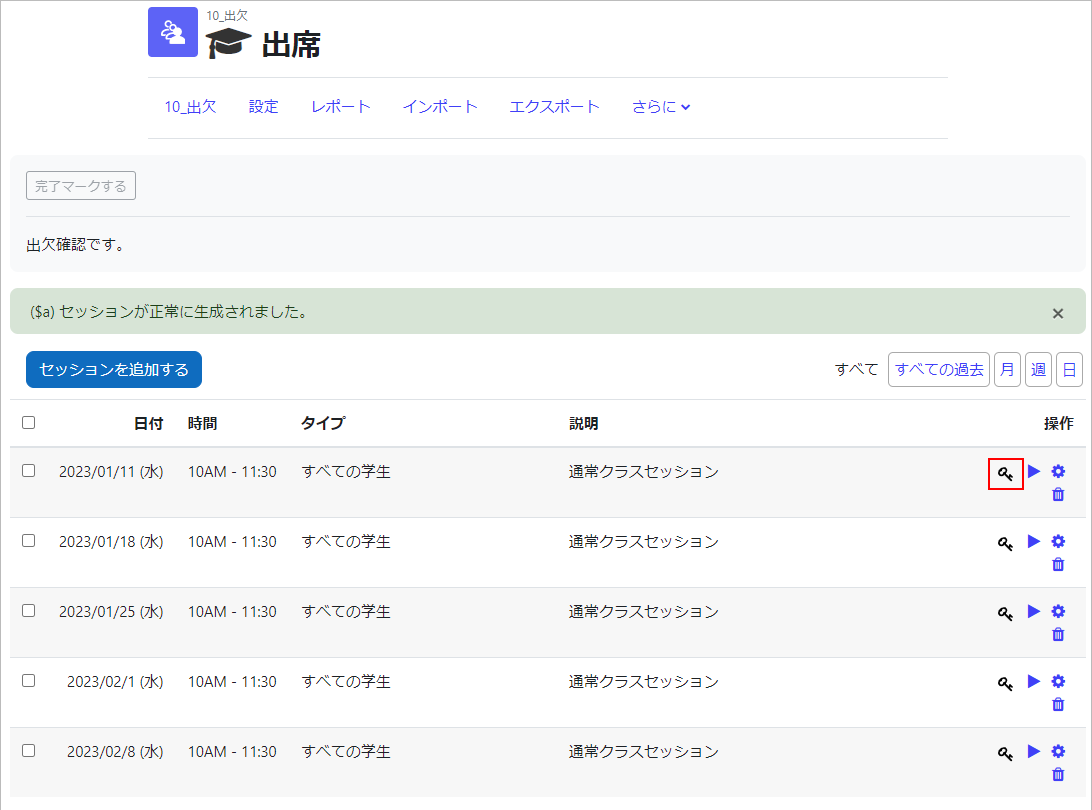
- Click [Add]. The session has been created. The [Key] icon allows you to check the password you have set.
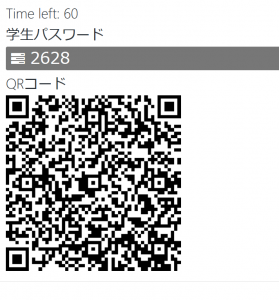
- The password is displayed; if a QR code is set, the QR code is also displayed together. If [Rotate QR code] is set, the remaining display time starts at 60 seconds and the QR code changes when it reaches 0 seconds.
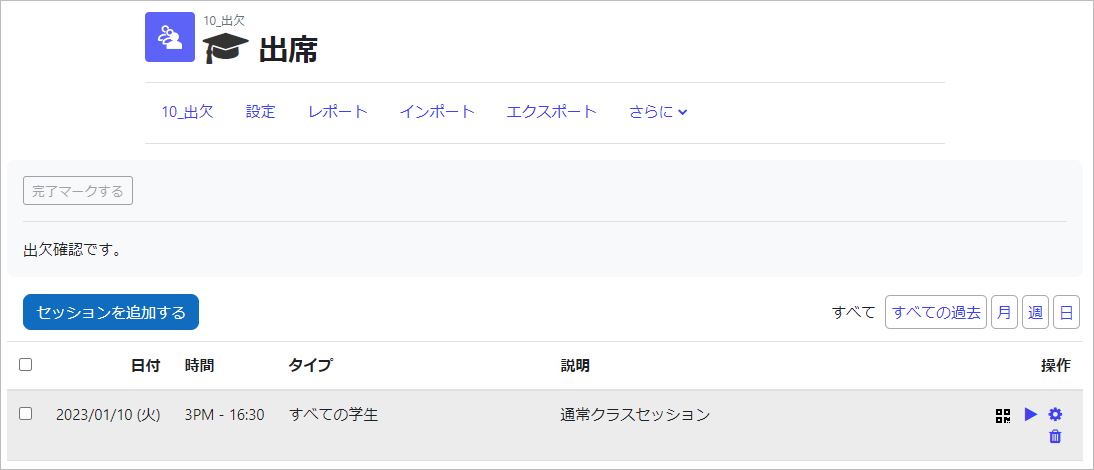
The procedure for starting a session (pressing the Take attendance button) is described below.
- Click on the ‘Take attendance’ icon (*play button in the operation column) of the generated session to start the session.
- Note
When taking attendance, you must press the Take attendance button to start the session. Please note that the session will not start automatically.
| Na,e | Attendance | |
|---|---|---|
| Overview | Attendance management function. You can also set students to register their own attendance. A list of course attendees can be downloaded in Excel or text format.
|
|
| Icon |  |
|
| Setting items ■General |
Name | Name of attendance Example) Attendance |
| Description | Description for attendance. | |
| Function | Add session | Set session start date and time. The roll call method can be set to automatic or manual and can be set to enter a password before attendance. |
| Report | You can check the attendance status of the users and send a message to users. | |
| Export | User attendance data can be downloaded in Excel or text format. | |
| Status set | Set the status to be used depending on the timing of attendance, such as whether the attendance is on time. A score can be set for each status. | |
| Temporary user | You can create temporary users. By integrating with the participant users, the attendance record of the participant user is overwritten. | |
Last Updated on 2024-01-16

