[Ref] 03-09. Creating Your Portfolio Page
[ PREVIOUS ] < | > [ N E X T ]
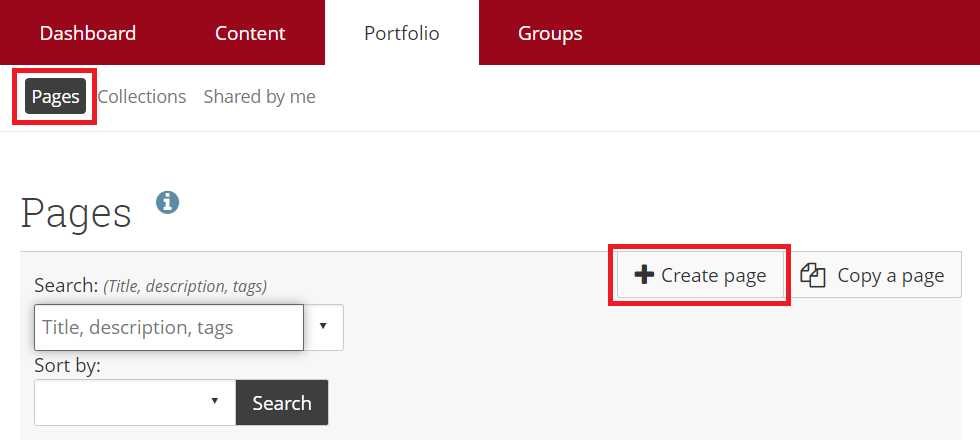
(1) From the “Portfolio” menu, click on “Pages”. In the Pages page, click on “Create Page”.
Fig. EG0309-(1)
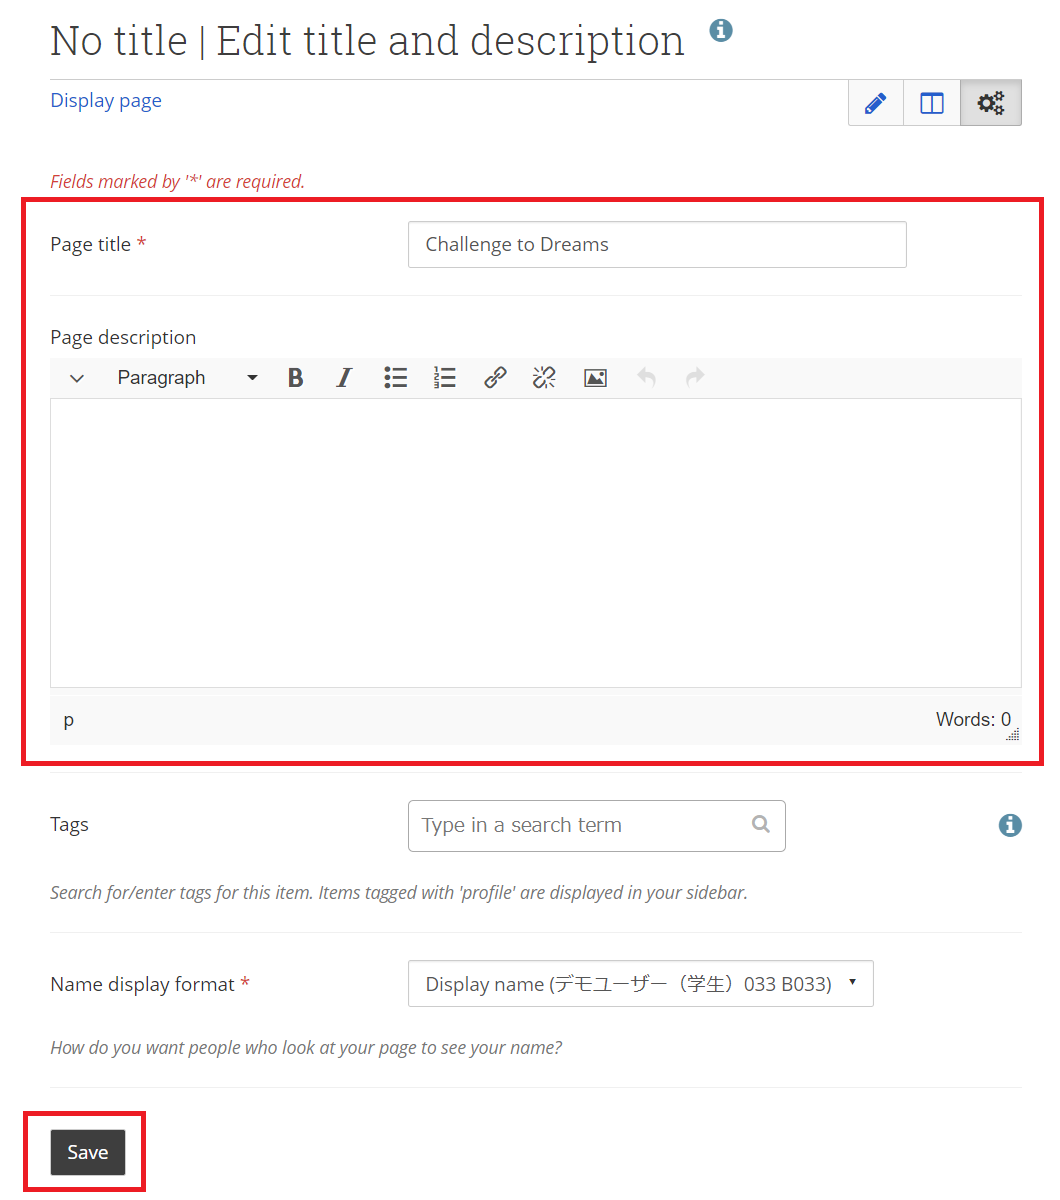
(2) Fill in the information for “Page Title” and “Page Description”, and click “Save”.
Fig. EG0309-(2)
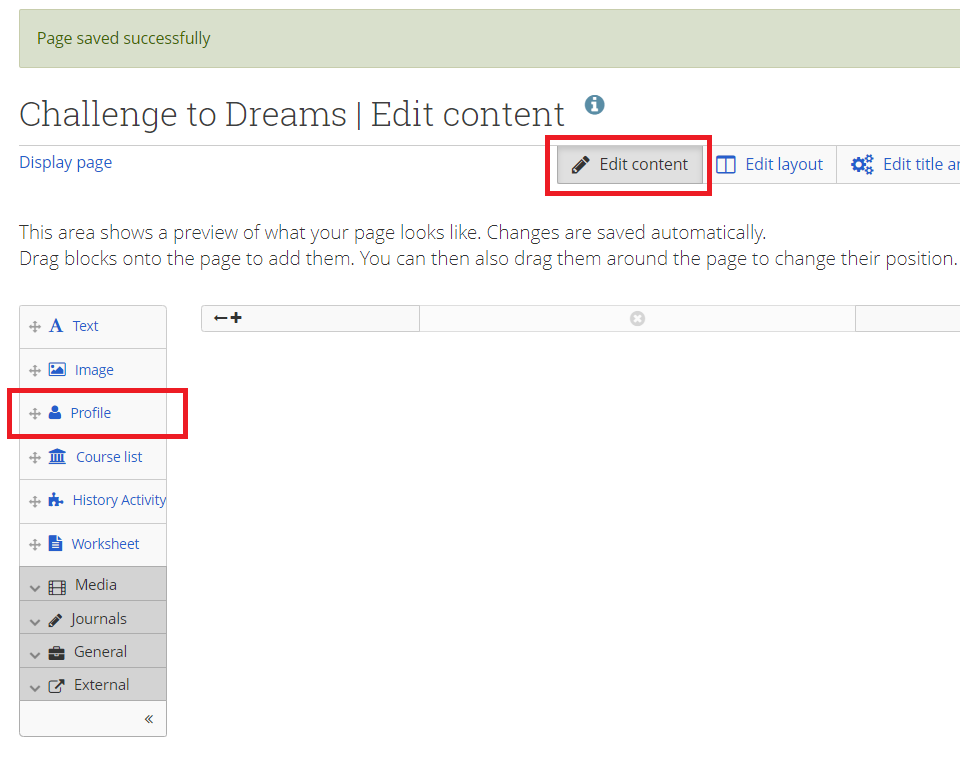
(3) You have successfully created a Page. Now let’s click on “Edit Content”, then choose “Profile” from the menu on the left side of the Edit Content screen.
Fig. EG0309-(3)
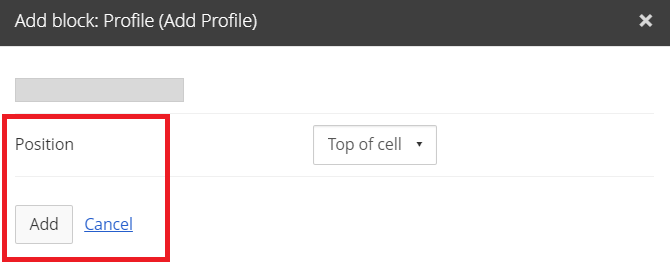
(4) In the pop-up box, select the position of the Profile Information, then click on “Add”.
Fig. EG0309-(4)
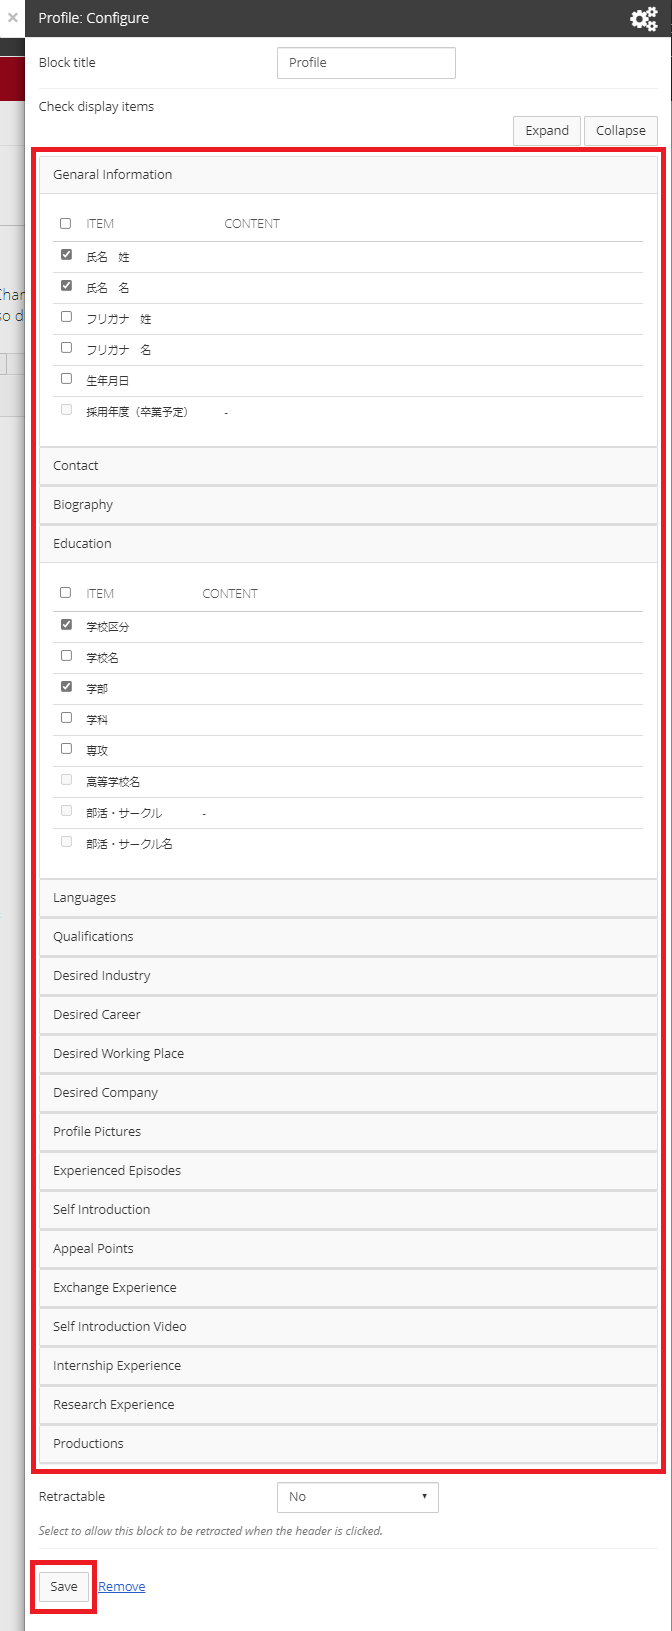
(5) Check the fields to display in your profile and click on “Save” at the bottom of the page.
Fig. EG0309-(5)
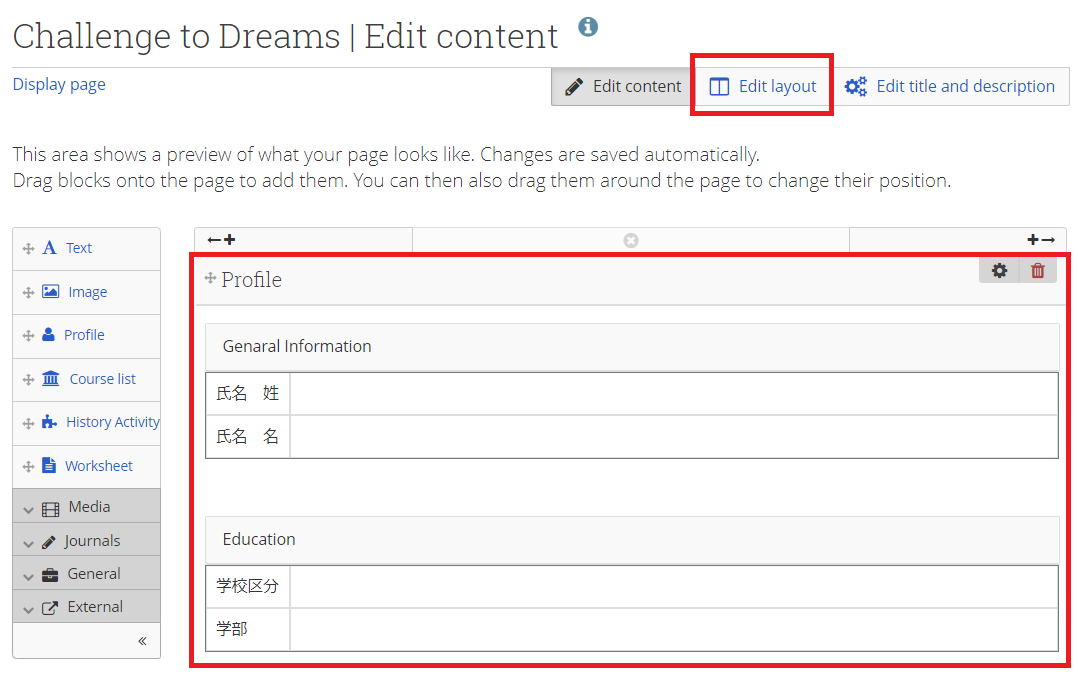
(6) Your profile is now displayed according to your settings. The option to edit the layout has been made available to allow for organized presentation of multiple content. Click on “Edit Layout” at the top of the page.
Fig. EG0309-(6)
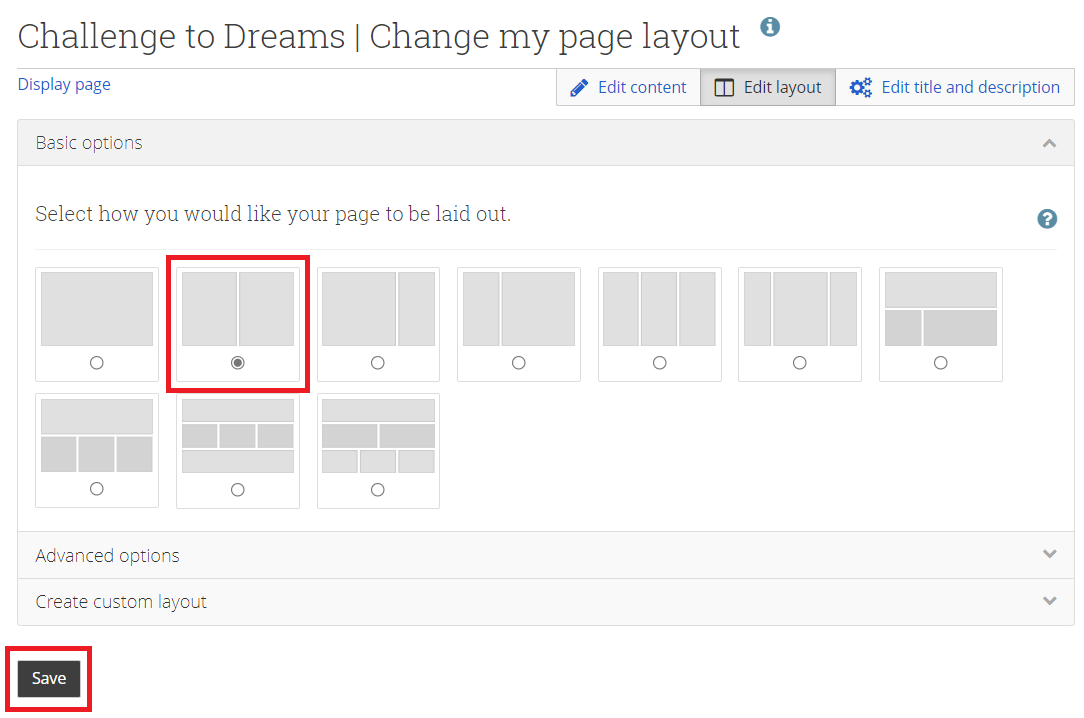
(7) Select a layout and click on “Save”.
Fig. EG0309-(7)
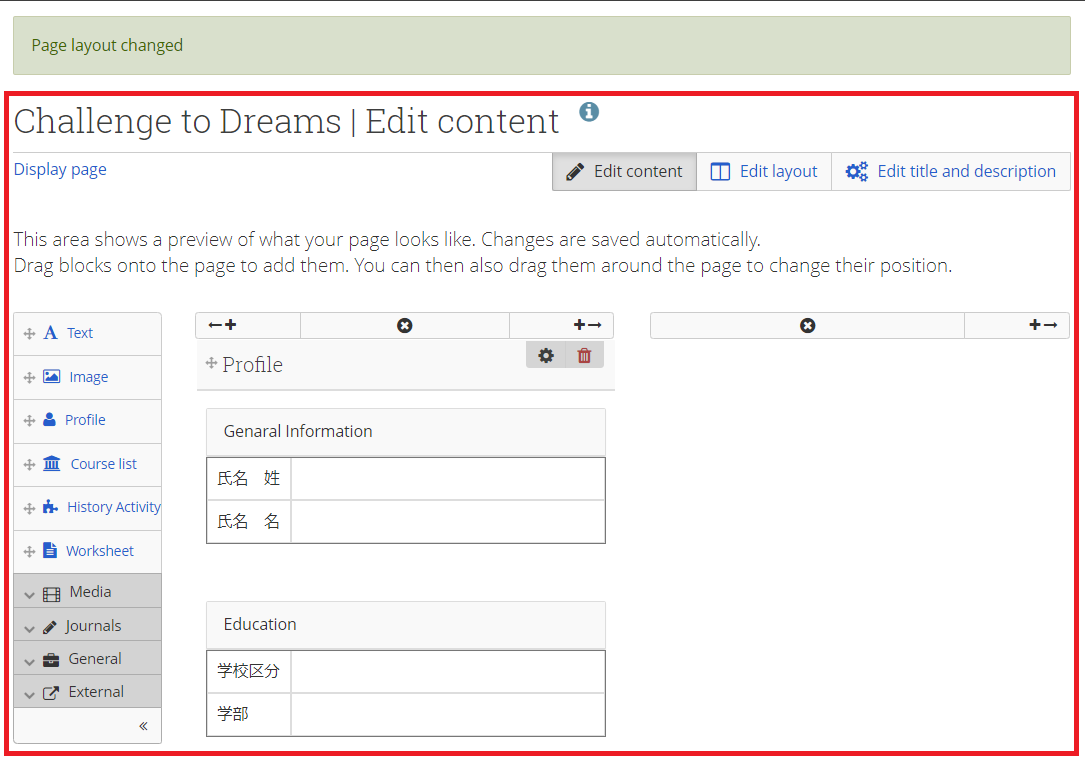
(8) Once you’ve chosen the layout, let’s try recalling journal entries which you’ve already published. The page is now separated in to two portion, with your profile on the left and your journal on the right, making it easy to see everything in one location. These are the basic steps for creating and editing your portfolio.
Fig. EG0309-(8)
< Manual TOP > [ MyPortfolio Guidebook ] < Page TOP >
- Title: [Ref] 03-09. Creating Your Portfolio Page
- Category: [Ref.] MyPortfolio Guidebook
- Page ID: en-mpguide0309

