12-01.Create Questionnaire
Overview
“Questionnaire” function allows you to know the status and opinions of the students and reflect their voices in the class. The results of Questionnaire can be downloaded in batches.
The following describes the steps to create a “Questionnaire.”
- memo
- If you want to check the level of students’ understanding in class in real time, “Wasepochi” is useful.
- memo
- If a response includes any private/personal information as text answer (free description field), it becomes privacy issue, i.e., it can be viewed by other students.
In order to refrain from such privacy issue, please set “Students can view ALL responses ” to “Never” in Response options.
-
- Start course editing mode.
- Click [Add an activity or resource].

- Choose [Questionnaire] and click [Add].
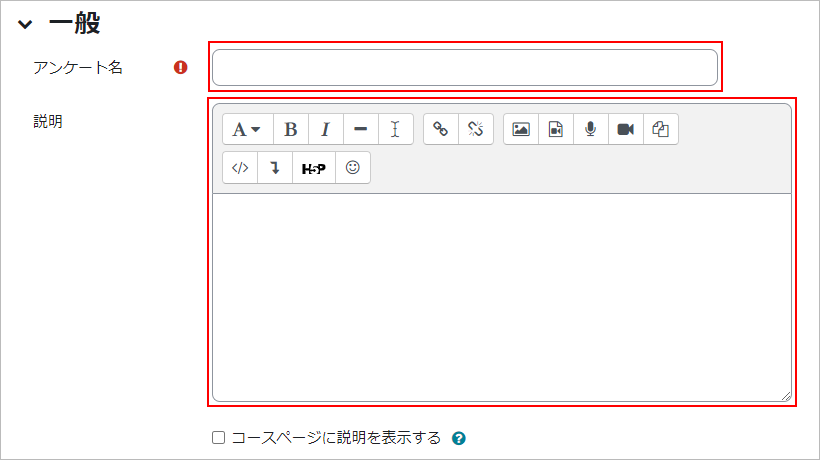
- Enter “Name” and “Description” of the questionnaire.
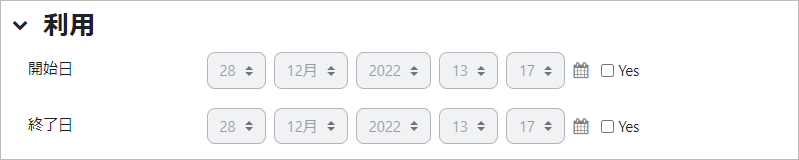
- You can set the timing for the questionnaire.
-
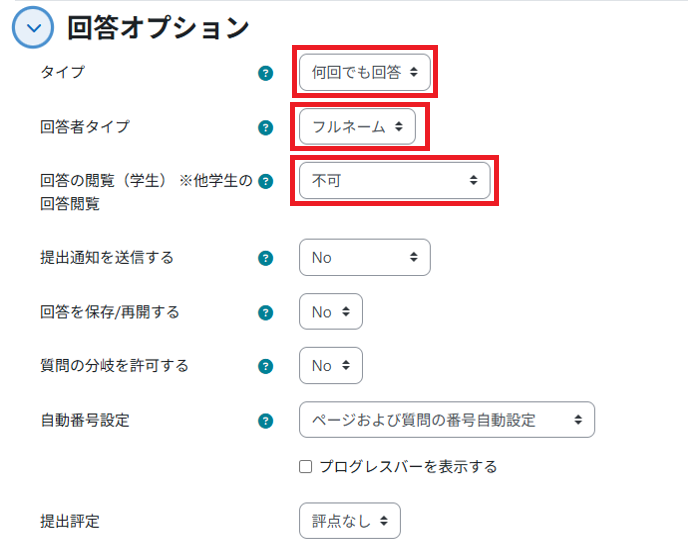
Set Response option.With “Type,” set how many times users can respond, and with “Respondent Type,” set whether to display users’ full name or not. You can also set whether students can see all responses and which timing they can see them if allowed to see them with “Student can view ALL responses.
- memo
- ・If you set “Type” to “respond many”, then the student’s second and subsequent responses will be treated as new responses (and will not overwrite the first).
・If a response includes any private/personal information as text answer (free description field), it becomes privacy issue, i.e., it can be viewed by other students.
In order to refrain from such privacy issue, please set “Students can view ALL responses ” to “Never” in Response options.
-
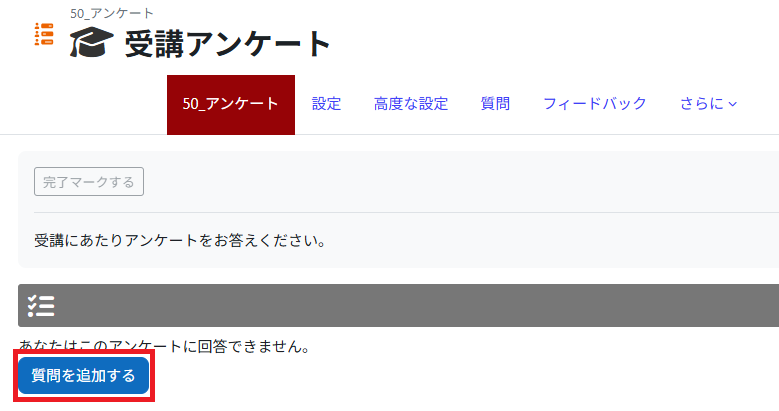
Click [Save and return to course]. Now the questionnaire is added to the course.Click the questionnaire to open.

- Create questions. Click [Add questions].
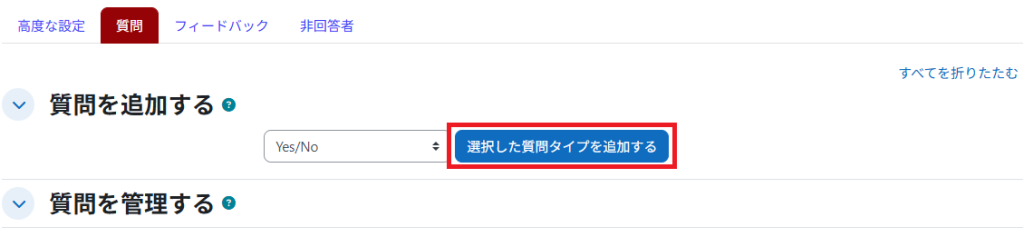
- Choose question type to add and click on [Add selected question type]. See 12-01. Questionnaire for description of each question type.
- Set question. This is the setting screen for “Yes/No question.”
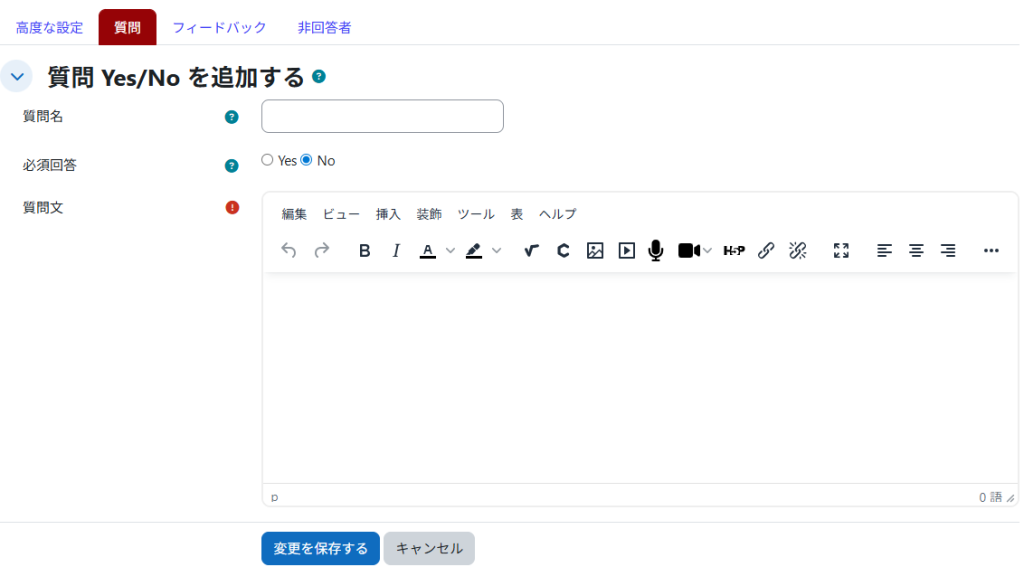
- Click [Save changes]. Now the question is added to “Manage questions.” To add more questions, follow the same procedure.

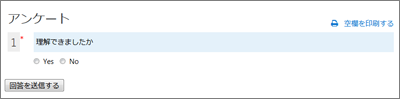
- Click on [Preview] to check the created questionnaire.
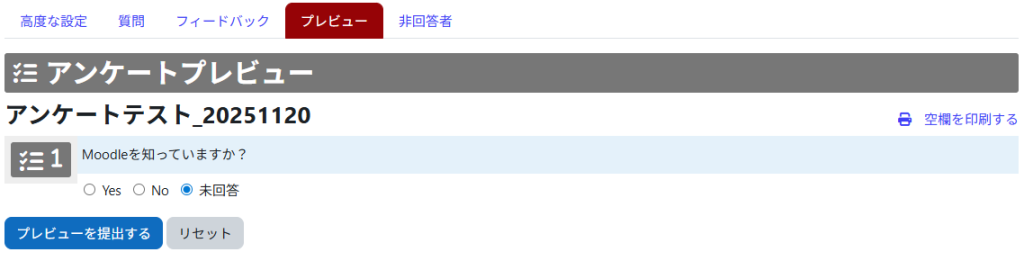
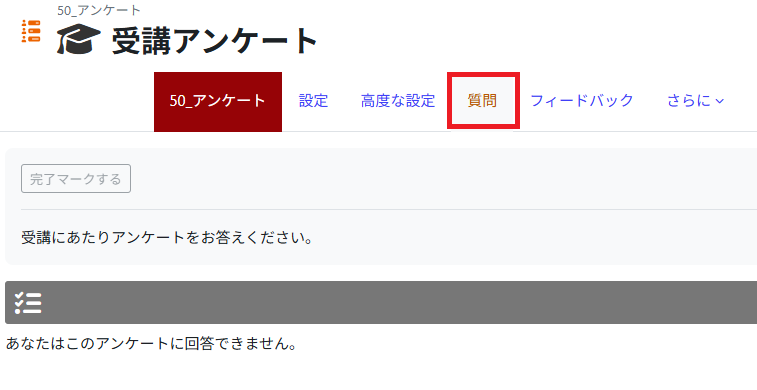
- questionnaire which has been added at least one question will be displayed as shown below when you open it. If you want to continue adding or editing questions, display the menu from [Questions] icon on the right.
Setting items for “Questionnaire”
| Name | Questionnaire | |
|---|---|---|
| Overview | A function to create questionnaires using various question types.
|
|
| Icon | ||
| Operating procedure | From the registered questionnaire, click “Add questions” to add questions. | |
| Setting items ■General |
Questionnaire name | Name of questionnaire Example) Attendance survey |
| Description | Description of the questionnaire. If “Display description on course page” is enabled, it will be displayed on the course. | |
| Function | Questions |
Questions can be added with the following question types.
• Yes/No
Answer by Yes/No.
• Slider
Answer by adjusting a slider left or right.
• Check Boxes
Checkbox options are displayed and multiple answers can be made.
• Text Box
Comment in one line.
• Dropdown Box
Choose from drop-down list.
• Radio Buttons
Choose one of the radio button choices.
• Label
Add descriptive text and images as labels.
• Numeric
Answer by numerical input.
• Date
Enter “year/month/day.”
• Rate (scale 1…5)
Assign numbers to measurement targets.
• Essay Box
Describe freely in multiple lines. By setting, HTML editor can be used to answer.
|
Last Updated on 2025-11-20

