14-04. Interactive Live Streaming (Zoom)
You can set up Zoom meeting via a plugin in Moodle.
Preparation
Get a Zoom account
To set up Zoom in Waseda Moodle, you will need a university contracted Zoom account. Please contact us from the Zoom Meeting Request Form below. This service is not available to you, or to lines that you have signed up for at other universities.
- reference
- ライブ配信のための環境
software installation
In order to conduct meetings in Zoom, you need to install the software.
download center
- reference
- TeachAnywhere
How to configure each Session
- Start course editing mode.
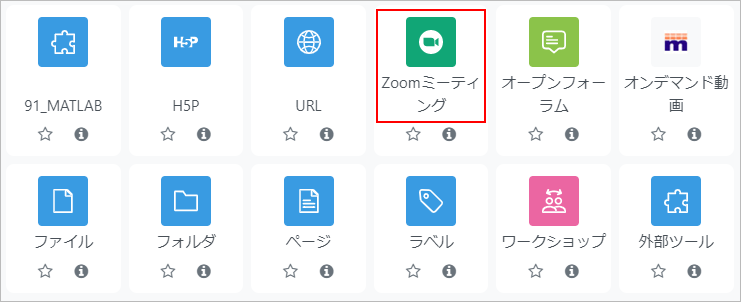
- Click on “Add an activity or resource” of the Topic.

- Select the zoom and click “Add”.
- Enter your Zoom meeting settings
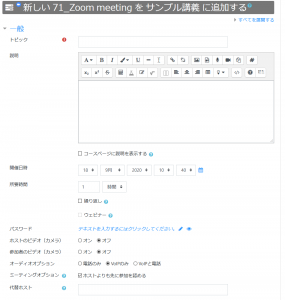
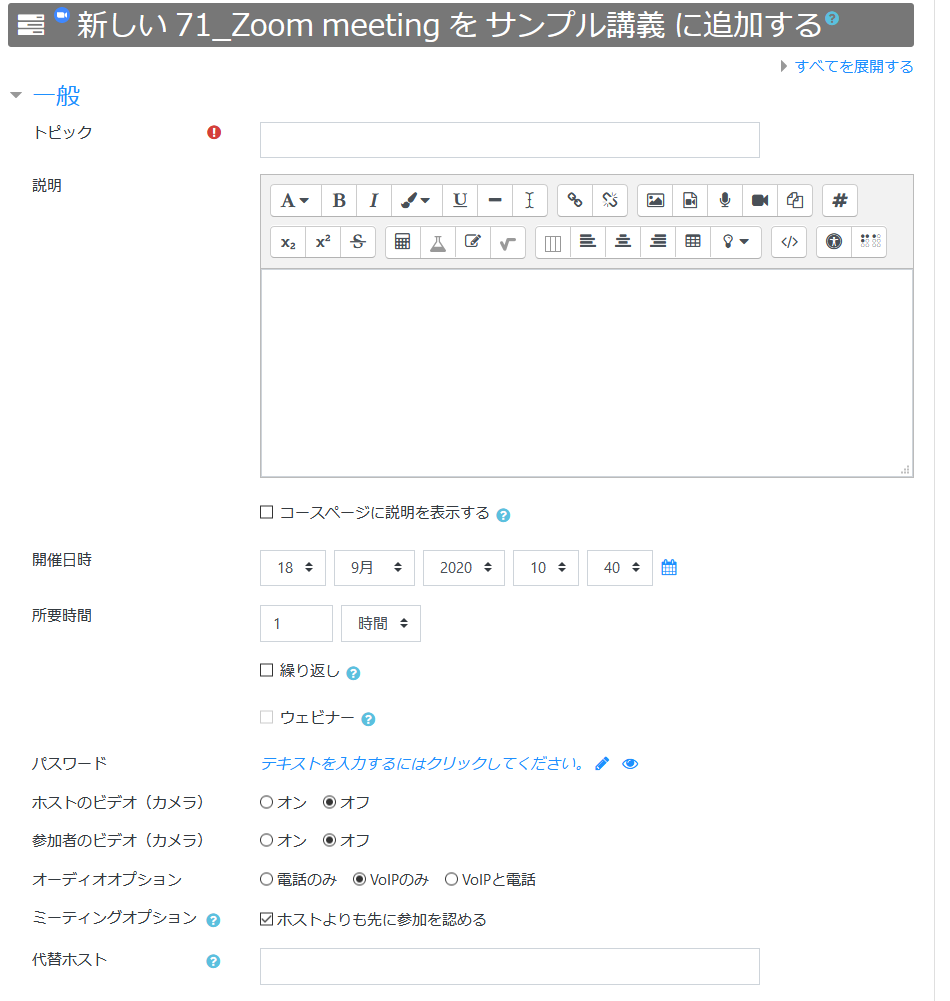
Topic Enter a title (e.g., Lecture 1) Description Enter a description of the meeting When Set the start date and time. Usually, you can set the class start time. Duration (minutes) Set the time for the meeting to take place. In a regular class, set the meeting to 90 minutes. Recurring meeting Normally unchecked.
If you do not need to set the “When” or “Duration (minutes)” of the meeting, check “Recurring meeting”, and select “No Fixed Time” in “Recurrence”.Webinar It will be in webinar format. Password Normally, the password is set automatically and is not necessary. Host video This is the default setting for the camera at the start of the meeting. Normally unchecked. Participants video This is the default setting for the camera at the start of the meeting. Normally unchecked. Audio options Set the availability of phone audio. Normally, only computer audio is used, so set it to “VoIP only”. Meeting option If the “Enable join before host” checkbox is checked, the student can join the meeting before the host faculty member. On the other hand, if the checkbox is unchecked, students will not be able to join the meeting until after the host faculty member joins the meeting. Alternative Hosts You can set up a different person to host the meeting than the person you set up the meeting with. If a different person is teaching the class, you must set up an email address for the instructor (who must be the same course instructor and have a university contracted Zoom account). This is useful when there are multiple faculty members in charge of a course and the instructor of the day is not the same. For details, please refer to 14-04-01. Push [Save and return to course]button
- There are Zoom meeting activities set up in the section

Conducting meetings
Start the meeting at the start time you set for the meeting.
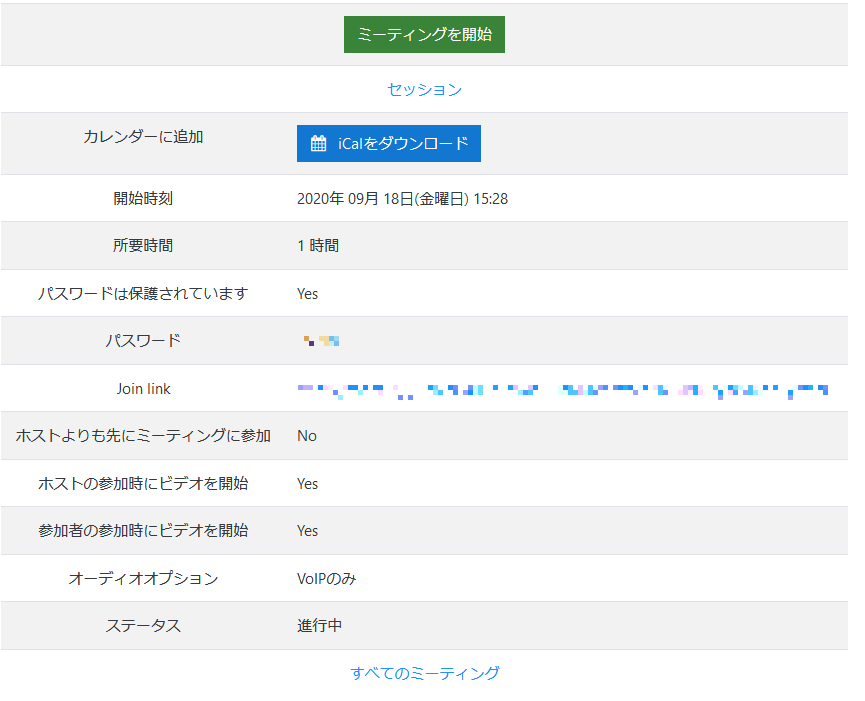
- Click on the Zoom meeting activity you have set
- Press the “Start Meeting” button.
- memo
- The Start Meeting button appears 15 minutes before the start time you set

- Another window will be launched and the Zoom application will be launched
- memo
- The [Join Meeting] button will appear on the student’s screen.
- memo
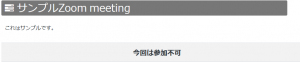
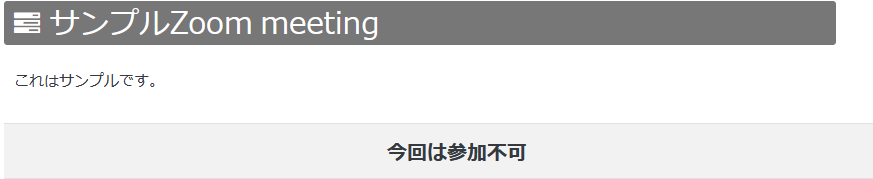
- After the end of the period, you will not be able to attend the meeting.

After the meeting
Session Information Reference
You can refer to the participant information.
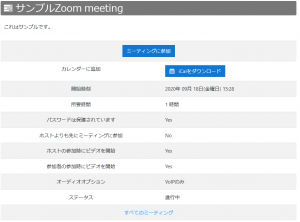
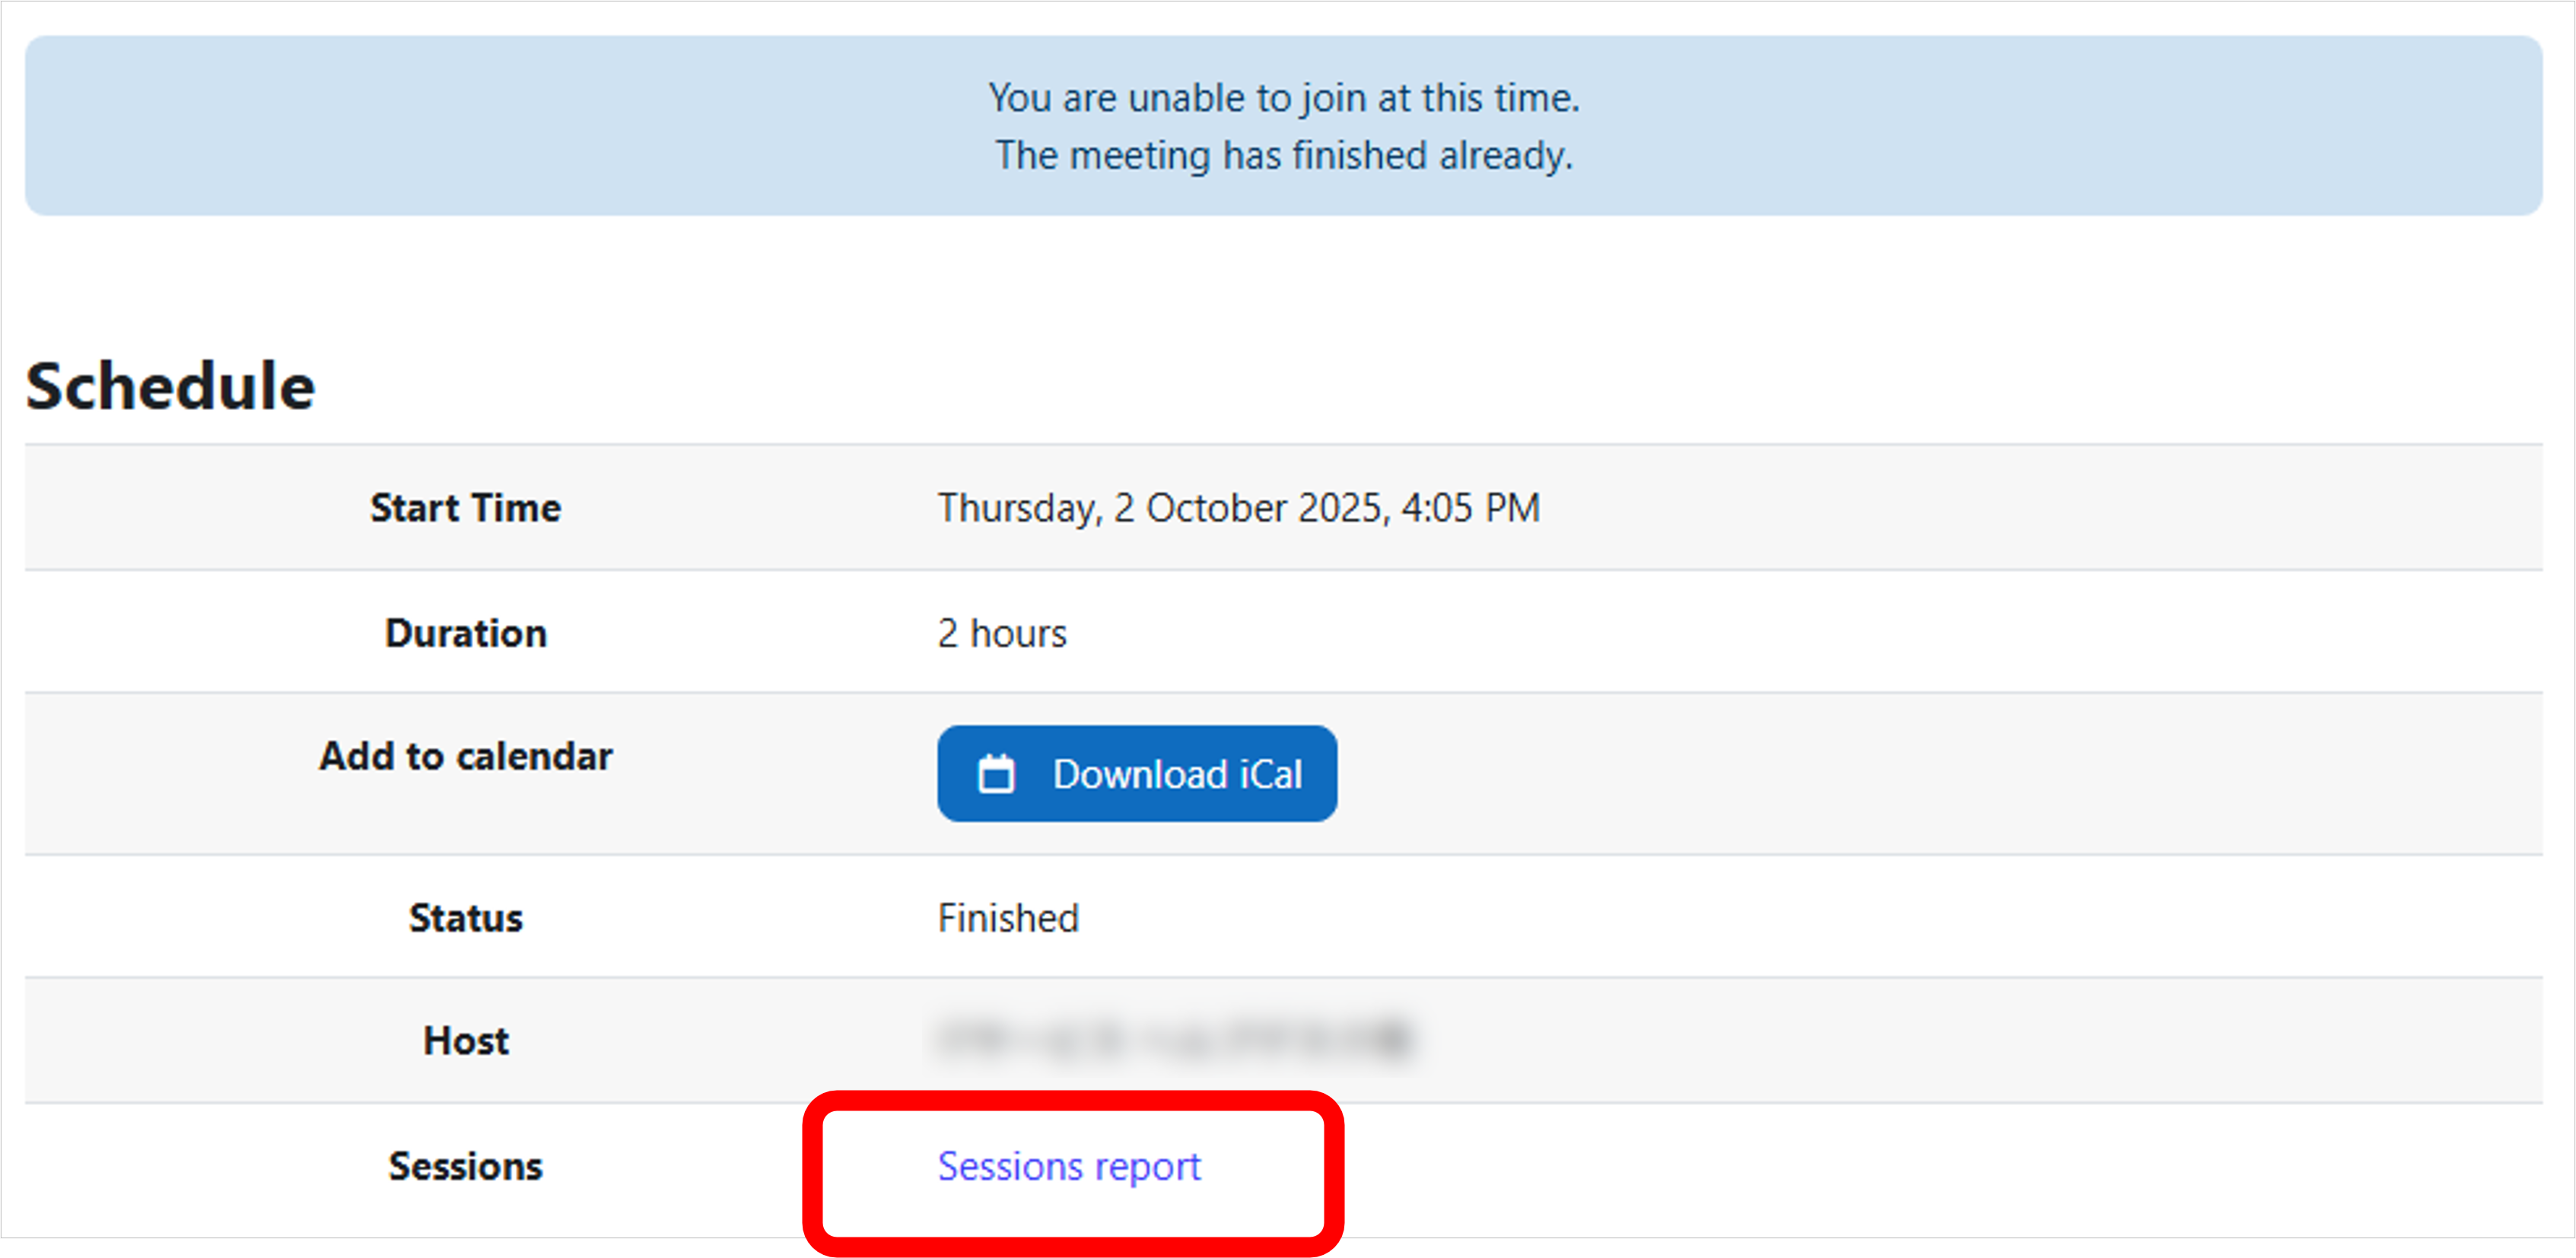
- Click on a completed Zoom meeting activity
- The session information will be displayed and it will display “You are unable to join at this time”. Click on the “Sessions report” link.
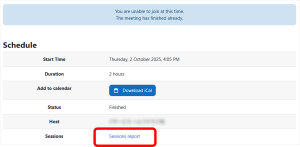
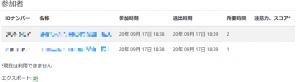
- The information of the meeting held will be shown in multiple lines when multiple meetings are held during the setting period of Zoom Meeting activity. Click the number displayed in the participant column.

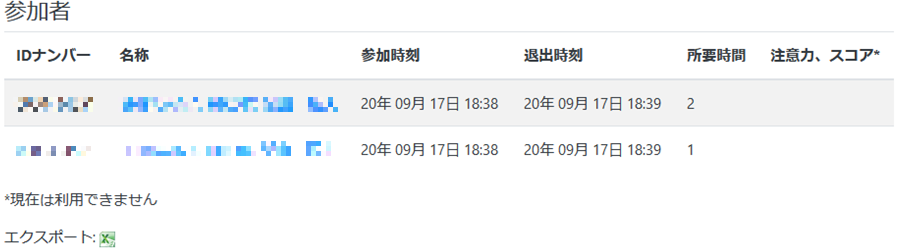
- A list of participants is displayed. You can get it in a file with the export function.

- memo
- Participant information will be reflected the day after the meeting takes place.
- The student’s student ID number and name are set in the “ID Number” and “Name” fields, but depending on the student’s PC/smartphone environment, the student ID number may not be recorded or the name may be garbled.
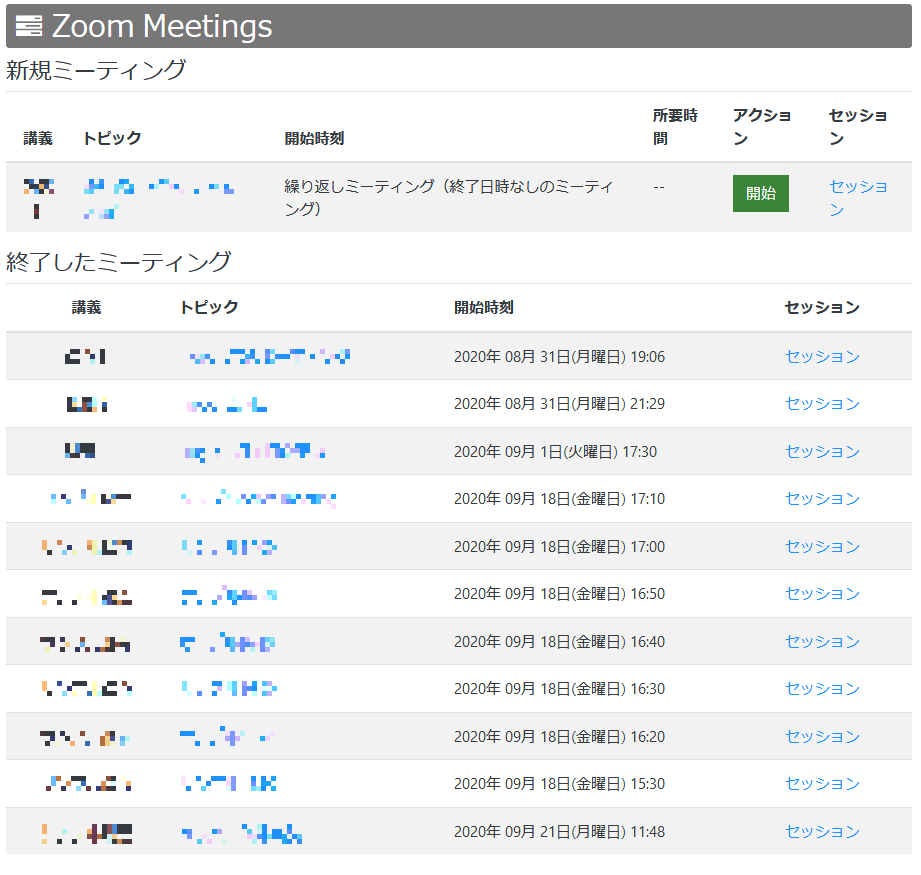
All Meeting Information Reference
You can view the list of Zoom meetings you have set up for your course.
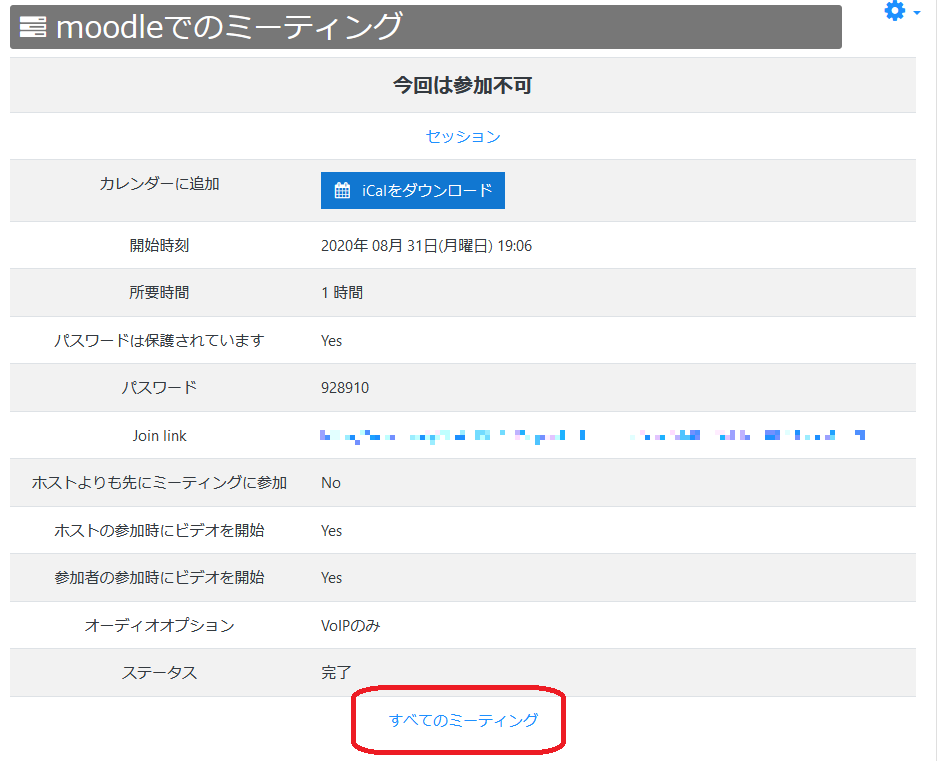
- Click on the configured Zoom activity.
- Click “All Meetings” at the bottom of the Zoom activity screen.

- A list of new and completed meetings will be displayed. A link to the start button and session information will be displayed.

Download recorded data with cloud recording
If you have cloud-recorded and stored the Zoom delivery content, please download the recorded data.
Last Updated on 2025-10-07

