08-01.File
Overview
“File” function is a function to upload lecture materials to provide students. The uploaded files can be downloaded by students.
Create “File” as follows.
- Start course editing mode.
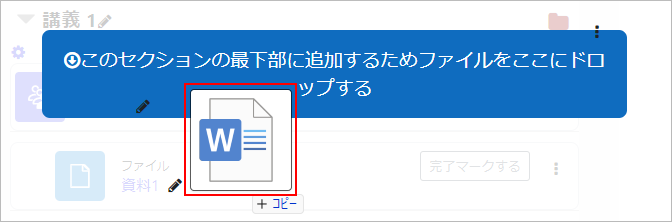
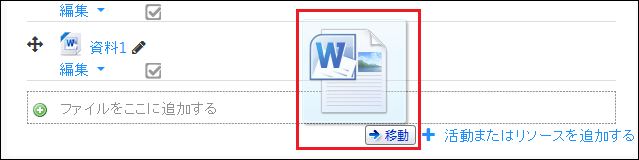
- Drag-and-drop a file directly to a course section.
- memo
- You can drag-and-drop multiple files at once.

- The file is added to the course.

- memo
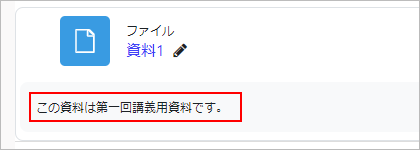
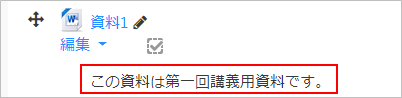
- To display file description on the course as shown below, add description from “Edit settings” in content editing.
- memo
- By default, when a student clicks on an uploaded file, it is set to be downloaded. If you want to change this setting, you can do so from “Appearance” as shown below. The behavior of each item when clicked is as follows. This setting needs to be set for each upload..
・Embed: The image will be displayed on the screen after clicking.
・New window: A new tab will be opened and displayed.
・Force download: The file will be downloaded.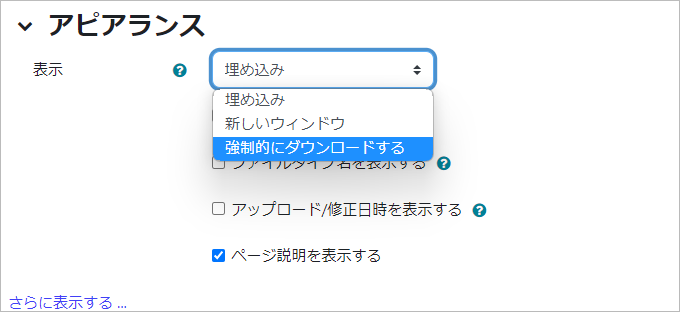
- Note
If you want to upload multiple files, you can either drag and drop them directly onto the course as described in step 2. or use the ‘Folder’ function.
If you upload multiple files to the ‘Select files’ area within the ‘File’ edit screen as shown below, only one file will be displayed in the course, the remaining files will not be displayed and cannot be downloaded.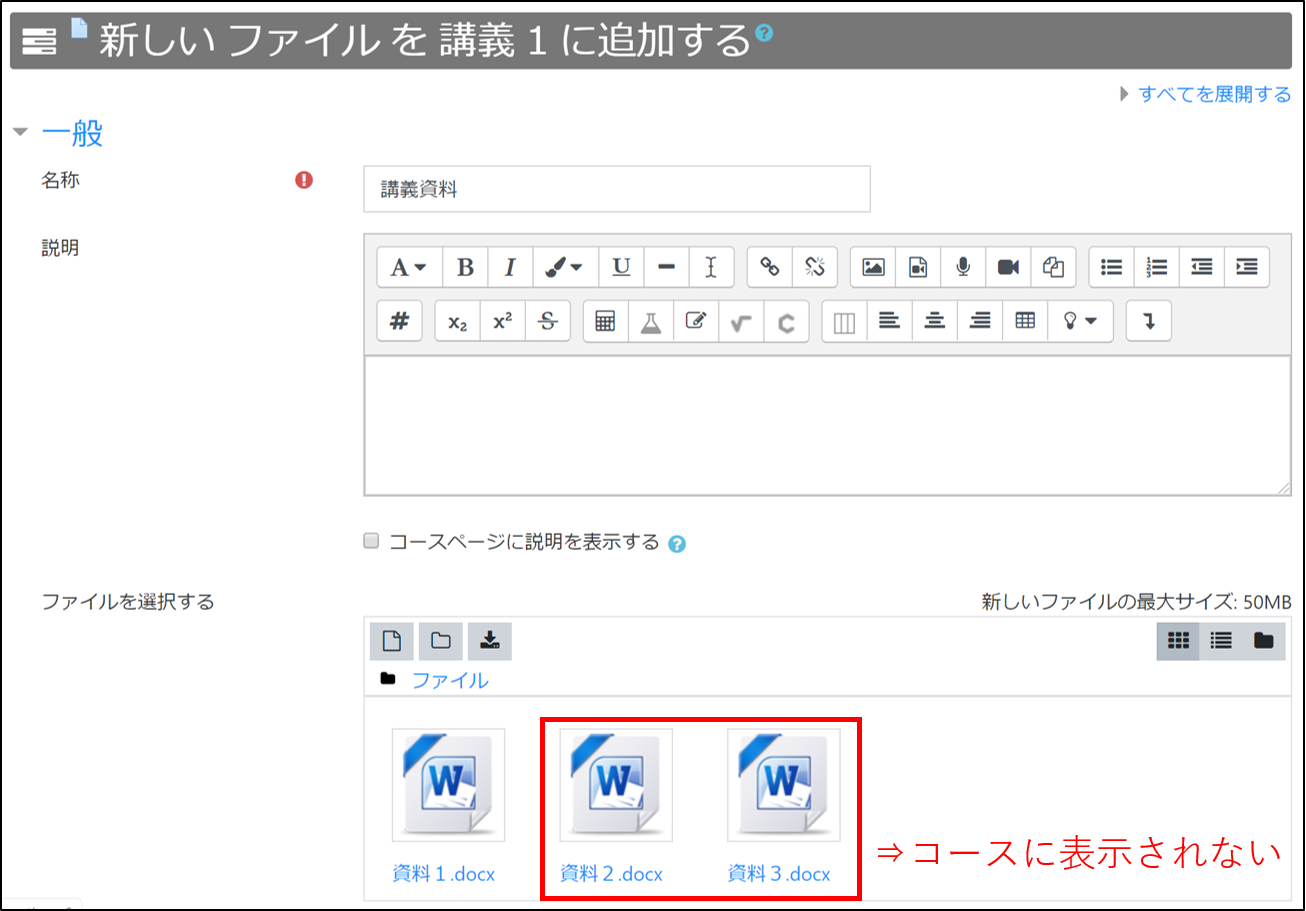
- Note
- Files uploaded using the ‘File’ function can be downloaded by students. If you want students to be able to view the files without downloading them, please follow the instructions below.
- Video files: on-demand video or uploaded from CCS (Contents Creation Studio)
- PDF files: shared URL obtained by uploading to CCS (Contents Creation Studio) and presenting it as a ‘URL’.
- Other files: provide the URL of the file on the Box (only viewing is allowed) with ‘URL’.
Uploadable file formats.
- Document files(.doc .docx .pdf .rtf .odt等)
- Presentation files(.ppt .pptx .pps .ppsx等)
- Spreadsheet files(.xls .xlsx .xlsm .csv等)
- Text files(.txt .c .h .java等)
- Image files(.jpeg .jpg .png .gif .bmp等)
- Video files(.mp4 .mpeg .wmv .flv .avi等)
- Audio files(.mp3 .m4a .aac .wav .wma等)
- Web files(.html .htm等)
- Archive files(.zip .7z .tar等)
Size of one file that can be uploaded
- 50MB
※You can change the maximum size of one file that can be uploaded.
<How to change the upload capacity>
1.Expand the “Course Management” item in the “Manage” menu on the right side of the course list screen.
2.Click “Edit Settings.
3.Click “File and Upload” from the “Edit Course Settings” screen.
4.Change the “Maximum upload size” to “50MB” and click “Save and display”.

Detailed items for “File”
| Name | File | |
|---|---|---|
| Icon |  |
|
| Setting items | Name | Name of file to upload Example) Lecture material 1 |
| Description | It will be displayed on the course page if enable “Display description on course page.” | |
| Select files | Register files. You can add files by drag-and-drop. You can also create a folder and upload files there. |
|
Last Updated on 2023-02-22

