09-01-05.Note for submitting group assignment as a group or individual
Group assignment is submitted by groups made in the course. If all students in the course belong to any of the groups, there is no problem because each group submits assignment. However, you should be careful if there are students who do not belong to any group in the course.
A student who does not belong to any group is categorized as “No group” as a course participant, but in Group submission, “Default group” will be automatically assigned.
・On the list of course participants, students who do not belong to any group are displayed as “No groups.”

・
On the list of group submission assignment, students who do not belong to any group are displayed as ”Default group.”
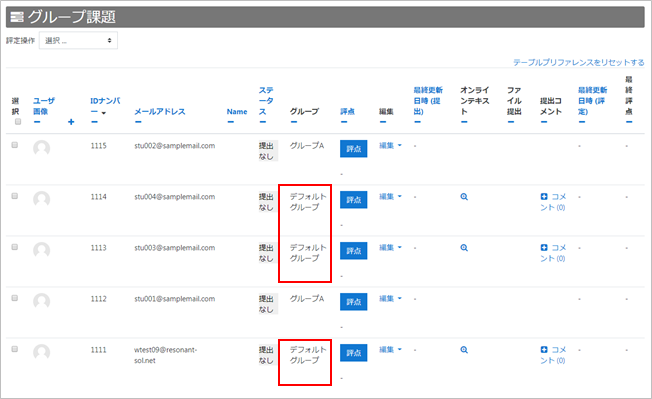
Because all students who do not belong to any group are included in “Default group,” when one of those students submits an assignment, it is submitted not as an individual but as “Default group.”
If you want a student in “Default group” to submit group assignment as an individual, you need to make a one-person-group for each individual student and assign to them.
The idea of group assignment when have both groups and individuals submit group task is as follows.
- Assign students who will be put in a group to each group.
- Automatically assign rest of the students to a one-person-group each.
The actual procedure to assign students is as follows.
Assign students to each group
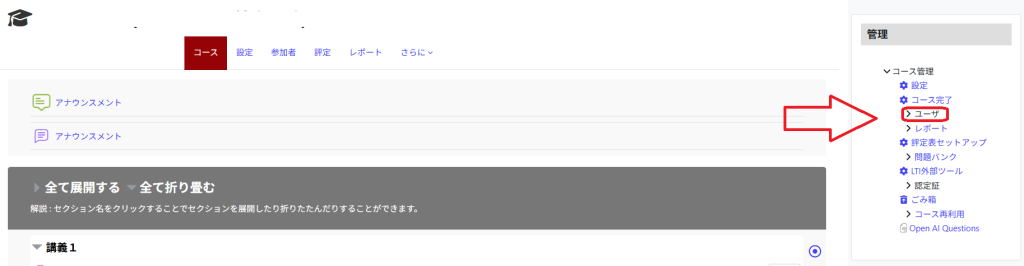
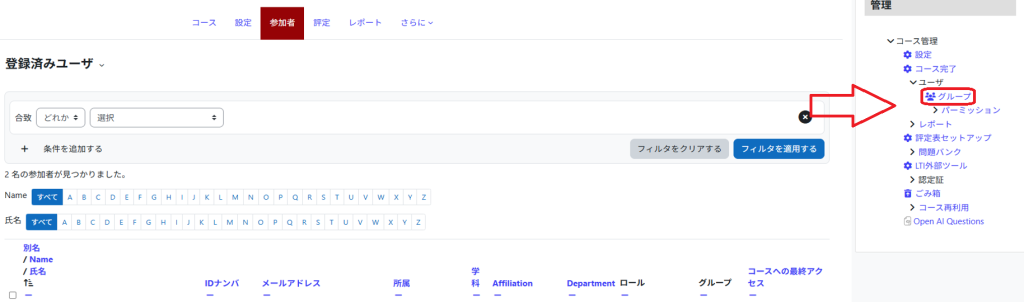
- Create a group on course administration and register students are members.
For the detailed procedure of creating group, refer to[05-03. Create group]
- A group is now created, and the members are registered to the group.
Automatically assign rest of the students to each one-person-group
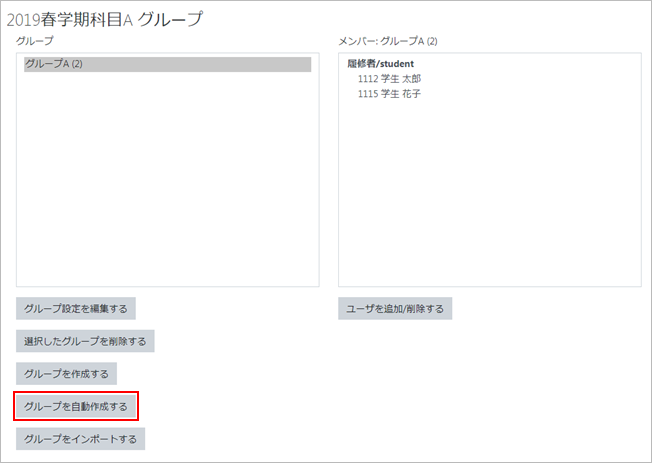
- Create a group to an individual student automatically. Click [Auto-create groups]
- Set Auto-create details.
Enter a group name in “Naming scheme.” Here, you create one-person-group for individual to submit assignment, so enter [Individual submission @]. By typing @, characters can be automatically assigned and the group names can be created. In this case, the group names will be “Individual submission A,” “Individual submission B,” “Individual submission C” and so on.
Choose [Members per group]「 for “Auto create based on,” and enter [1] in “Group/member count.”

- Choose [Student] for “Select members with role.”
You can choose allocation order in “Allocate members.”
Check [Ignore users in groups] option. Users who are already allocated to other group will be excluded.

- Choose [No grouping] in “Grouping of auto-created groups.”

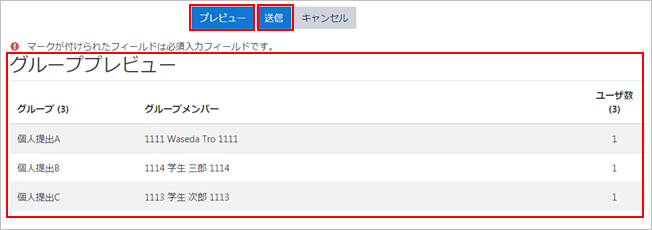
- Before [Submit], you can check by [Preview]. When you click [Preview], groups and members which are auto-created are displayed. Click [Submit] if they are OK.
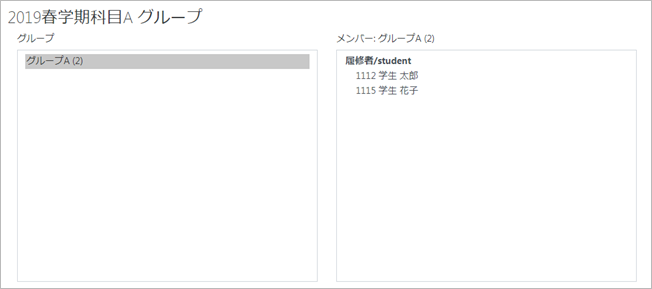
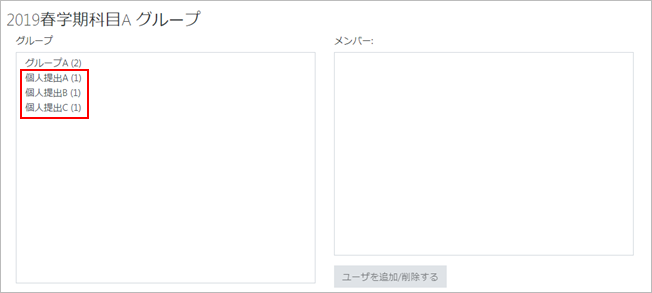
- Individual groups are now created.
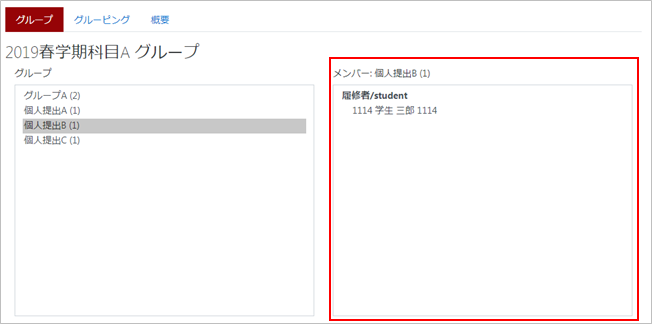
- If you select each group, you can see only one student is registered as a member of the group.
Last Updated on 2025-07-14

