09-02-01.Setup phase
- Click [Add an activity or resource] of section.

- Choose [Workshop] and click [Add].
- Enter a name of workshop in “Workshop name.”

- In Grading settings, set “Grade for submission” and “Submission grade to pass,” and then set “Grade for assessment” and “Assessment grade to pass.”
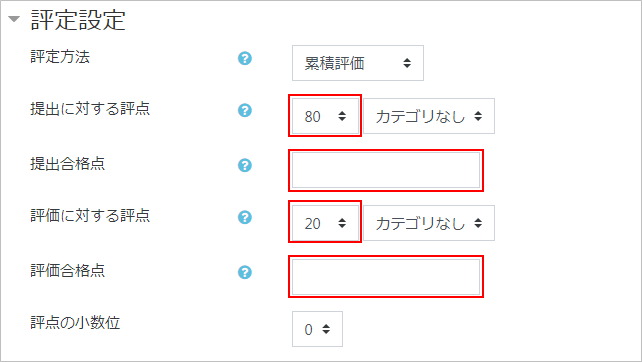 The following instructions are based on the assumption that the grading method is set to “cumulative”. For other grade method settings, please refer to here.
- Set Submission settings (setting for accepting assignment submissions from students). Enter instructions in “Instructions for submission.” If needed, set “Maximum number of submission attachments,” “Maximum submission attachment size,” “Late submissions,” and so on.

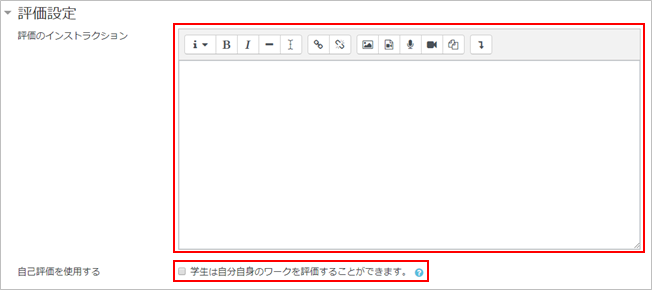
- Set Assessment settings (settings for students to evaluate submissions made by others). Enter instructions in “Instructions for assessment.” Check “Students may assess their own work” if self-evaluation needed.
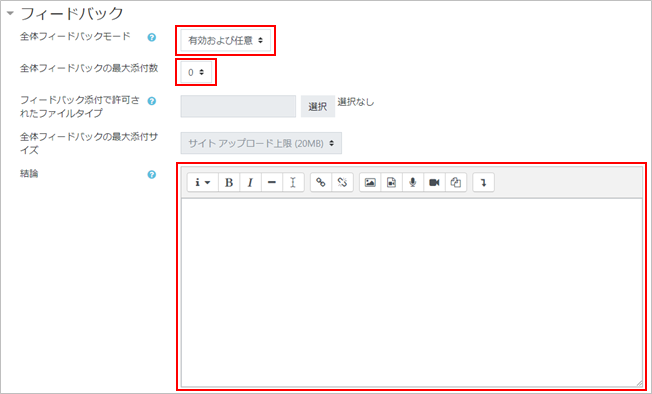
- Set the evaluator feedback (comment feedback when a student evaluates others). In “Overall feedback mode,” choose either [Disable], [Enabled and optional], or [Enabled and required]. If allow attachments to feedback, set “Maximum number of overall feedback attachments.”
With “Conclusion,” you can set comment feedback to be displayed to all participants when the teacher completes “Grade assessment phase.”
- If “Use examples” is enabled, the teacher can show students answer examples created him/her. When using examples, set it in Setup phase described later.

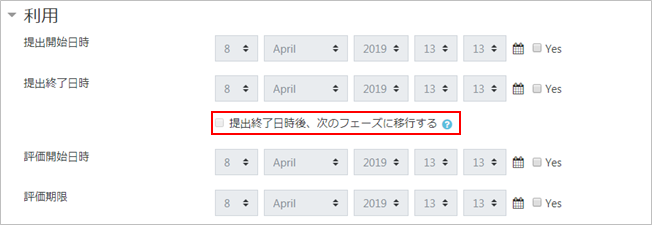
- In Availability, set “Open for submissions from” and “Submissions deadline.” If check on [Switch to the next phase after the submissions deadline], the workshop will automatically switch to Assessment phase after the submissions deadline.Now set “Open for assessment from” and “Deadline for assessment.”
- Enable Turnitin to do plagiarism check if needed.

- Click [Save and return to course]. Now the workshop is added to the course. Click the workshop to open.

- All the phases and tasks are displayed. Current phase is highlighted (light green) and completed task is checkmarked (yellow green). (Not started is gray checkmark.) You can see it is currently Setup phase and completed up to “Provide instructions for submission.”
Now click next task, [Edit assessment form].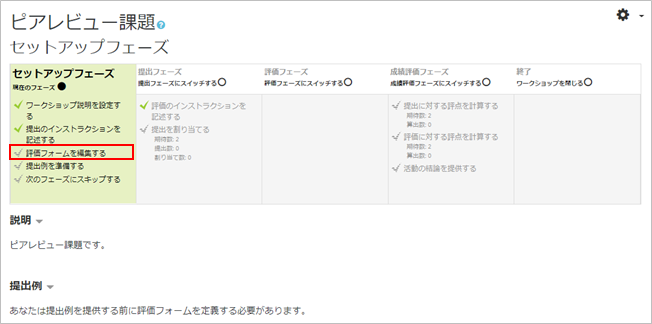
- Set assessment items on the assessment form. Enter description for the assessment item in “Description” and set “Maximum grade.” Click [Save and preview].
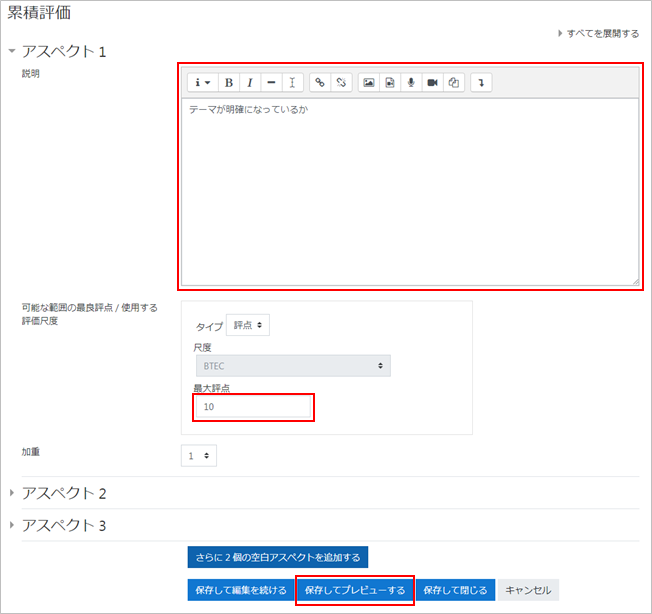
- memo
- “Aspect” is defined as “evaluation factor” in Workshop function.
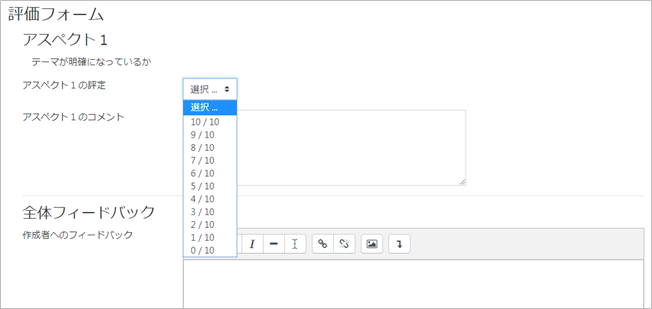
- Check the preview of the assessment form. Click [Back to editing form].
- Click [Save and close]

- The next task is “Prepare example submissions.” Click [Add example submission].
*If “Use examples” is not enabled in the above settings, this will not be displayed.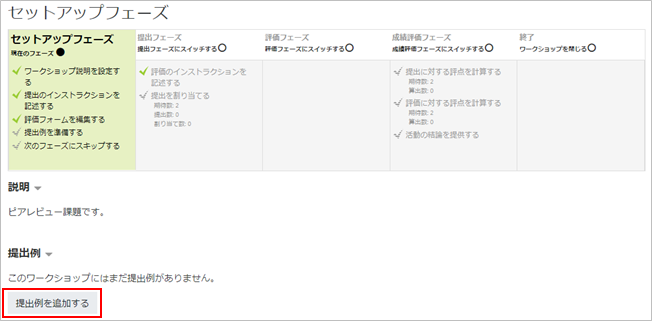
- Enter “Title” and “Submission content (examples of assignments by online text)” or attach files by “Attachment (examples of assignments by attachment) to create example submission.
Click [Save changes]

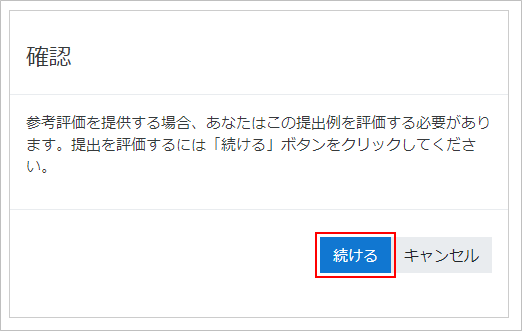
- To show a reference evaluation (an example of the evaluation by teacher) to students, the submission example have to be evaluated. Click [Continue] to evaluate.
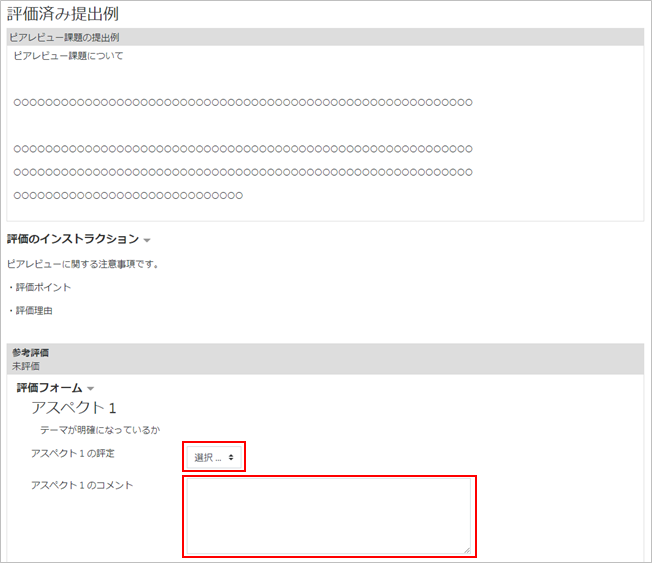
- Choose grade and enter your comment. Click [Save and close].
- Now Setup phase is completed. Click [Switch to the next phase] to move to the next phase.
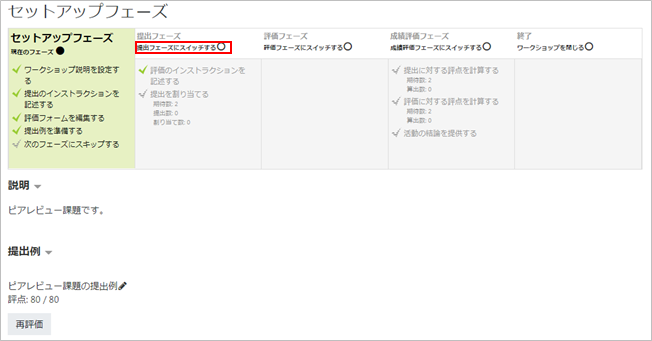
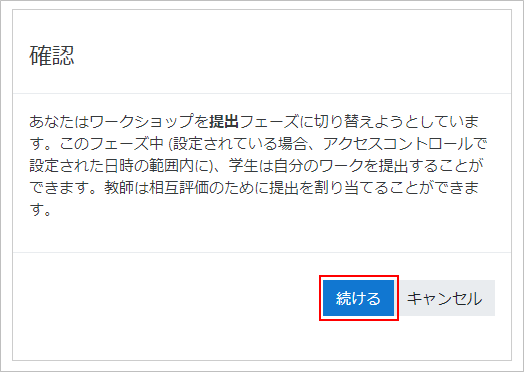
- Confirmation appears. Click [Continue], and the workshop will be switched to Submission phase.
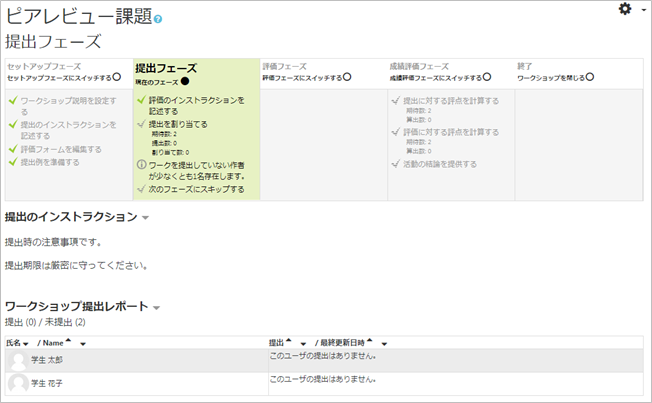
- It is now switched to Submission phase.
Last Updated on 2023-02-22

