09-01-09.How to use PDF annotations
“PDF Annotation” is a feature that converts submissions from students into PDF files and allows users to write feedback directly on the PDF files. This allows for more specific feedback by allowing users to write annotations, freehand text, etc. on the submissions.
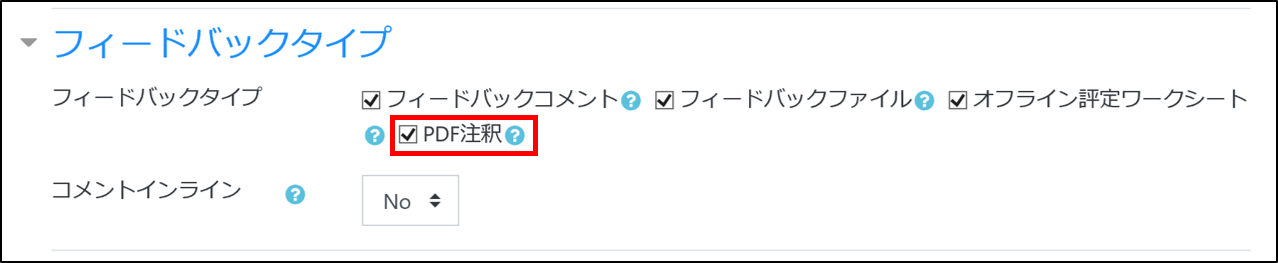
- When creating the issue, check the [PDF Annotation] checkbox under “Feedback Type” (default is unchecked).
- Refer to:
- ⇒09-01.Assignment
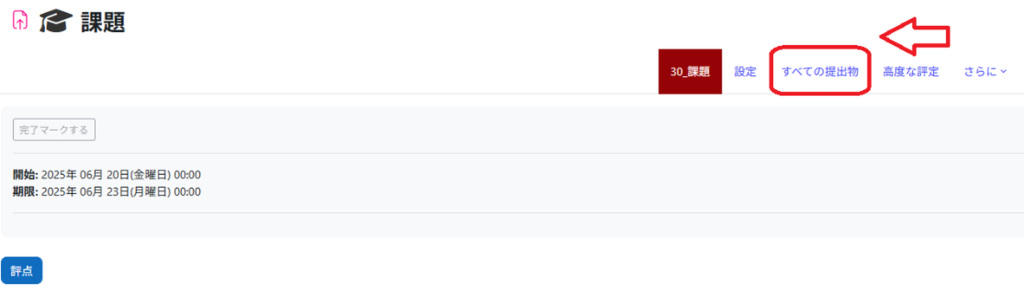
- Open the assignment to be graded. The number of participants (enrollments) and the number of submissions will be displayed.
Click the “All Submissions” tab at the top.
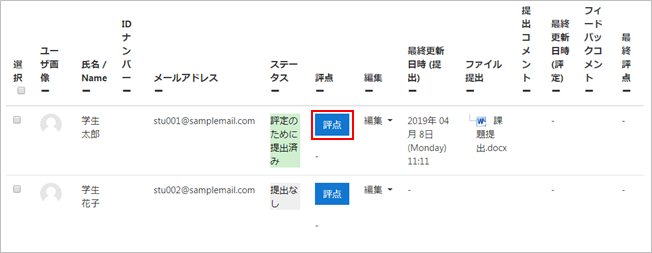
- A list of students who have completed the assignment will be displayed. You can check the submission status and grade of each student. Click on the “Grade” of the student for whom you want to assign a grade.
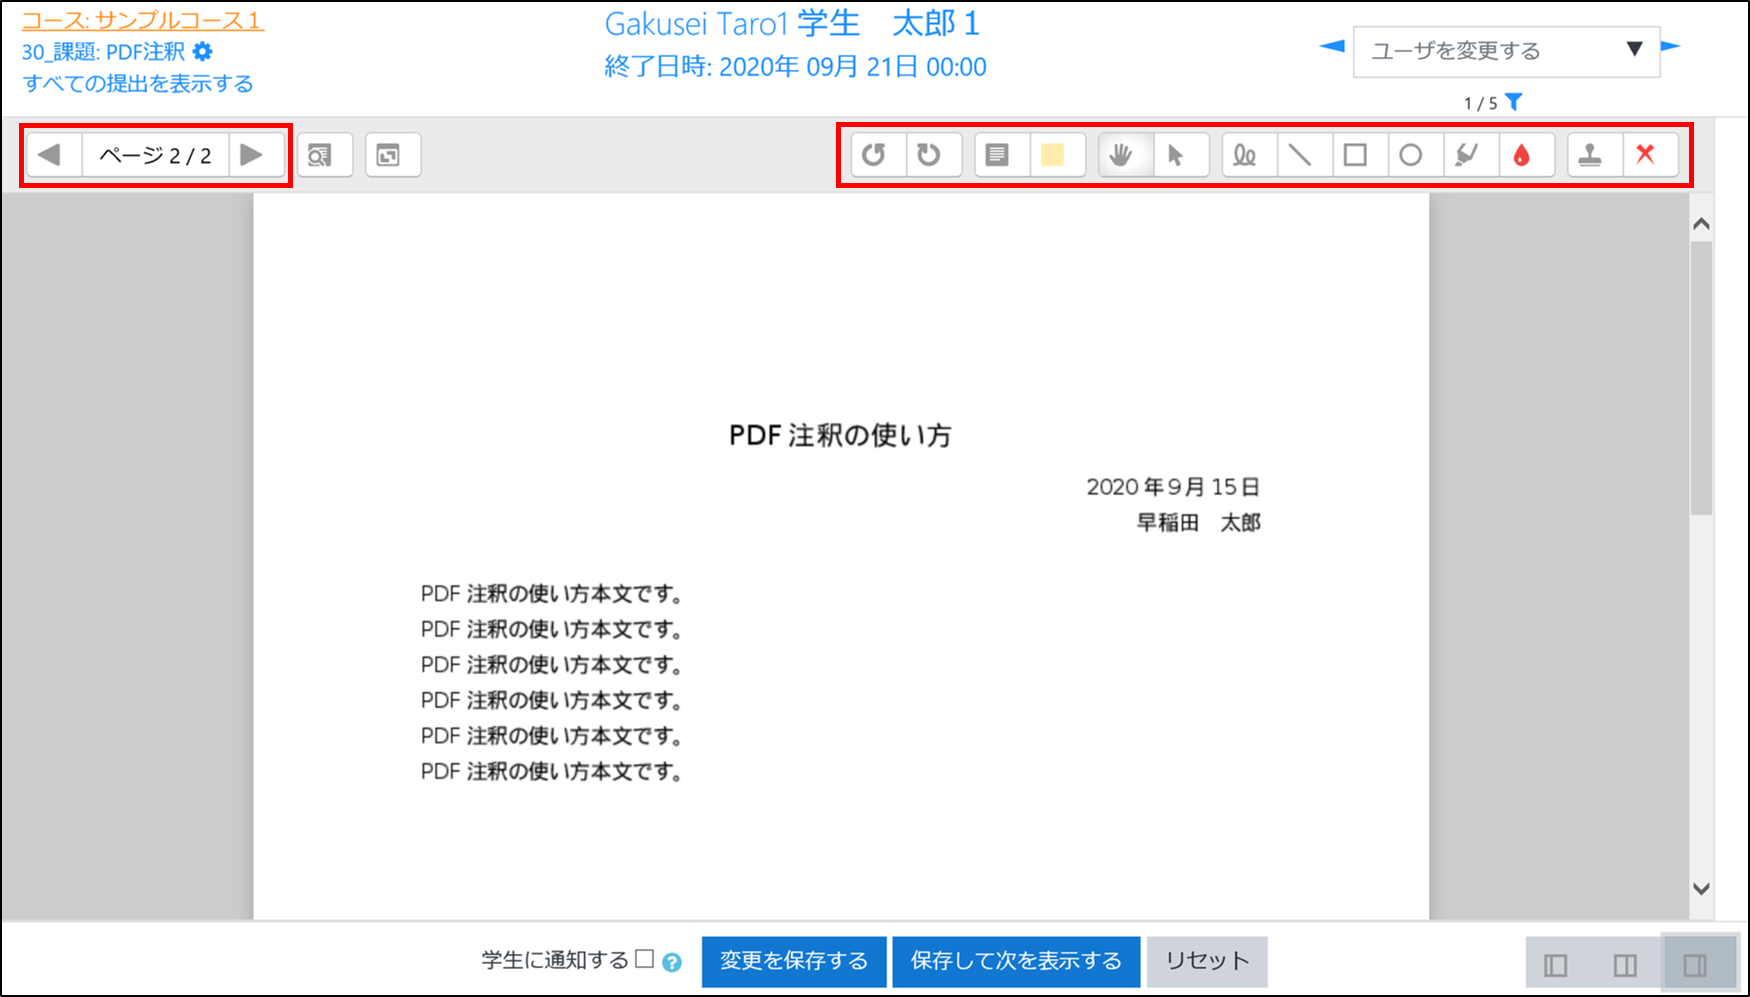
- The Grades screen will open. Click on the icon in the lower right corner to change the screen display.
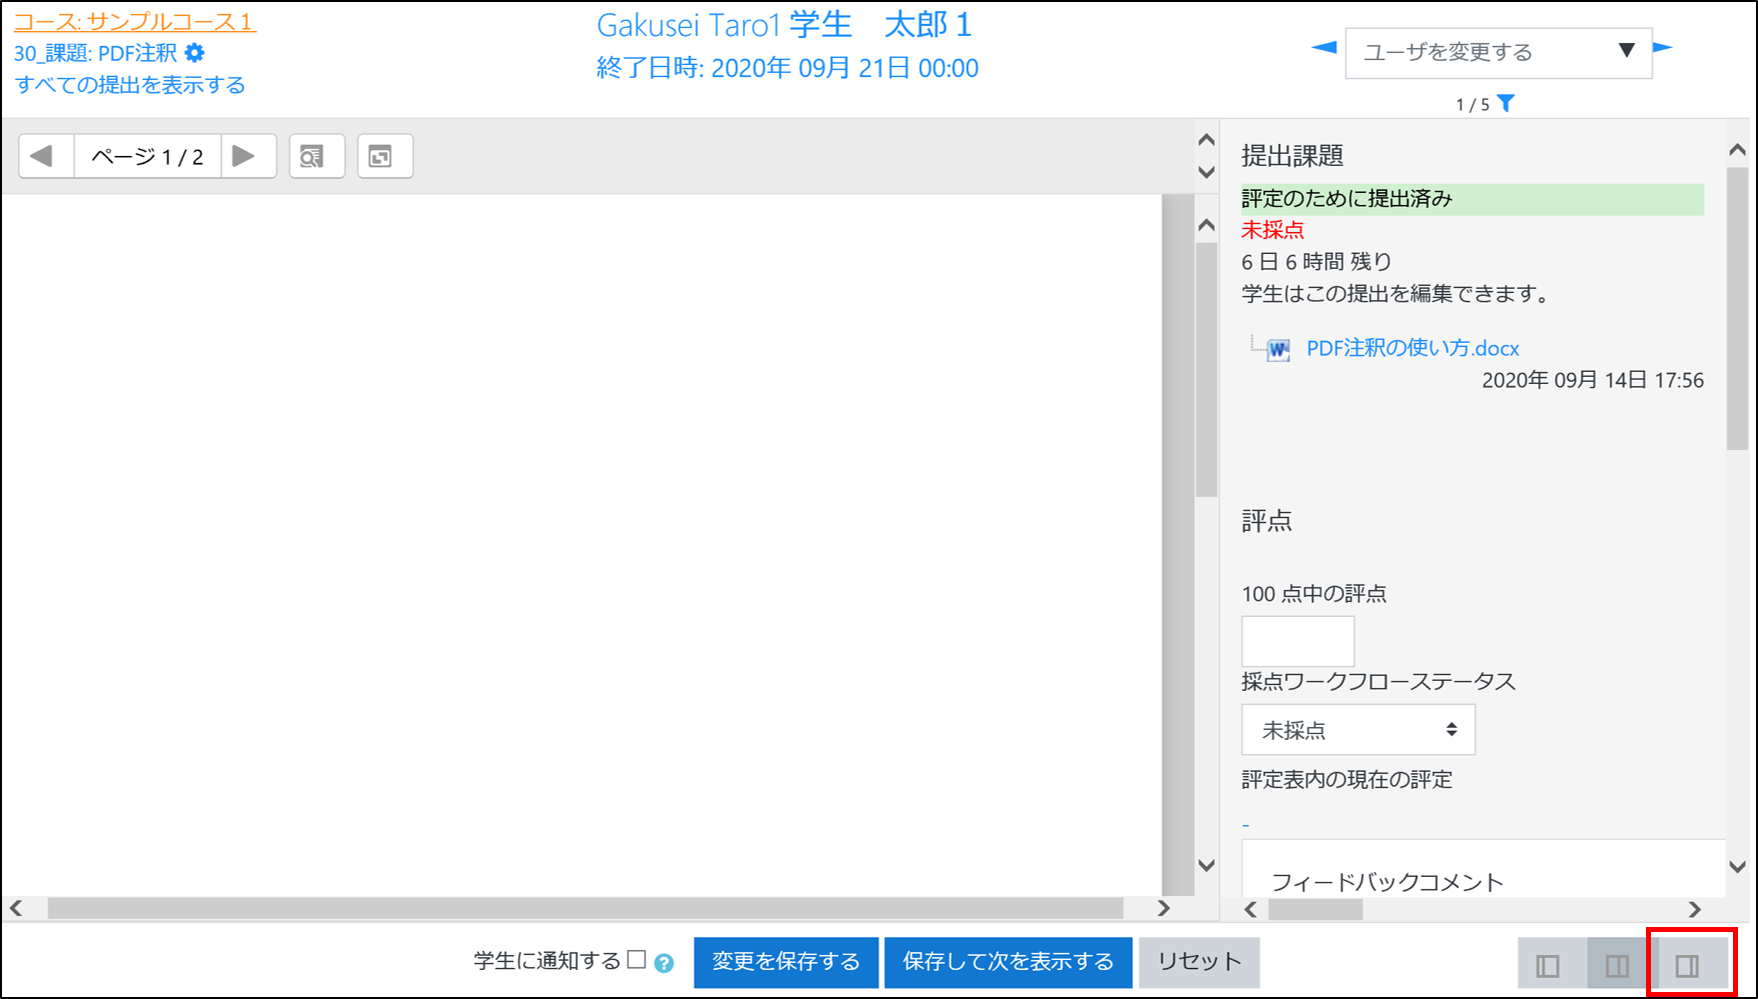
- An edit icon will appear in the upper right corner. Click on the arrow in the upper left corner to open the page on which you want to write feedback (annotations).
- memo
- If you have allowed online text submissions, the online text and the contents of the submitted file will be merged into a single PDF file, with the online text on the first page and the file contents on the second and subsequent pages.
- Write annotations using the edit icon.
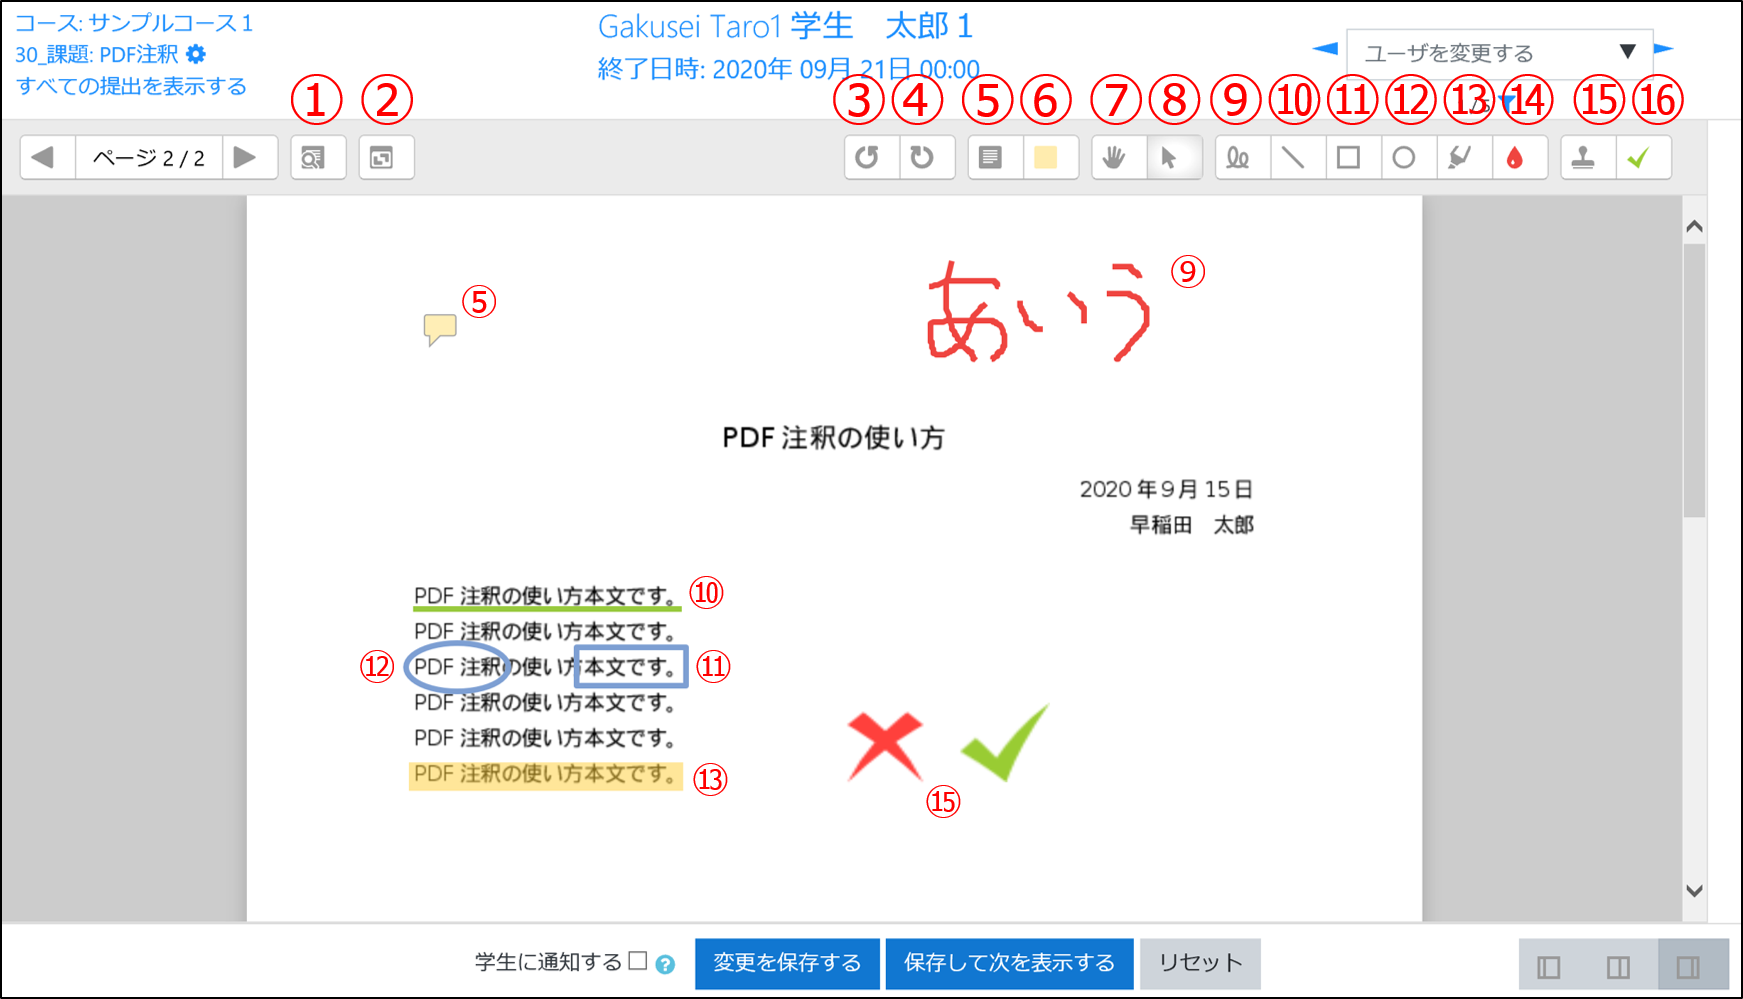
The meanings of the various icons are as follows.
(1) Search for a comment.
(2) Open the comment balloon icon to display the contents of the comment.
(3) Rotate 90 degrees to the left.
(4) Rotate 90 degrees to the right.
(5) Add a comment.
(6) Specify the color of the comment.
(7) The cursor changes to a palm icon and you can drag the document.
(8) Select, move, and delete annotations.
(9) Input text and shapes by freehand.
(10) Draw a line.
(11) Draw a rectangle.
(12) Draw a circle.
(13) Draw a marker.
(14) Specify the color of lines and shapes in (9) to (13).
(15) Stamp a stamp.
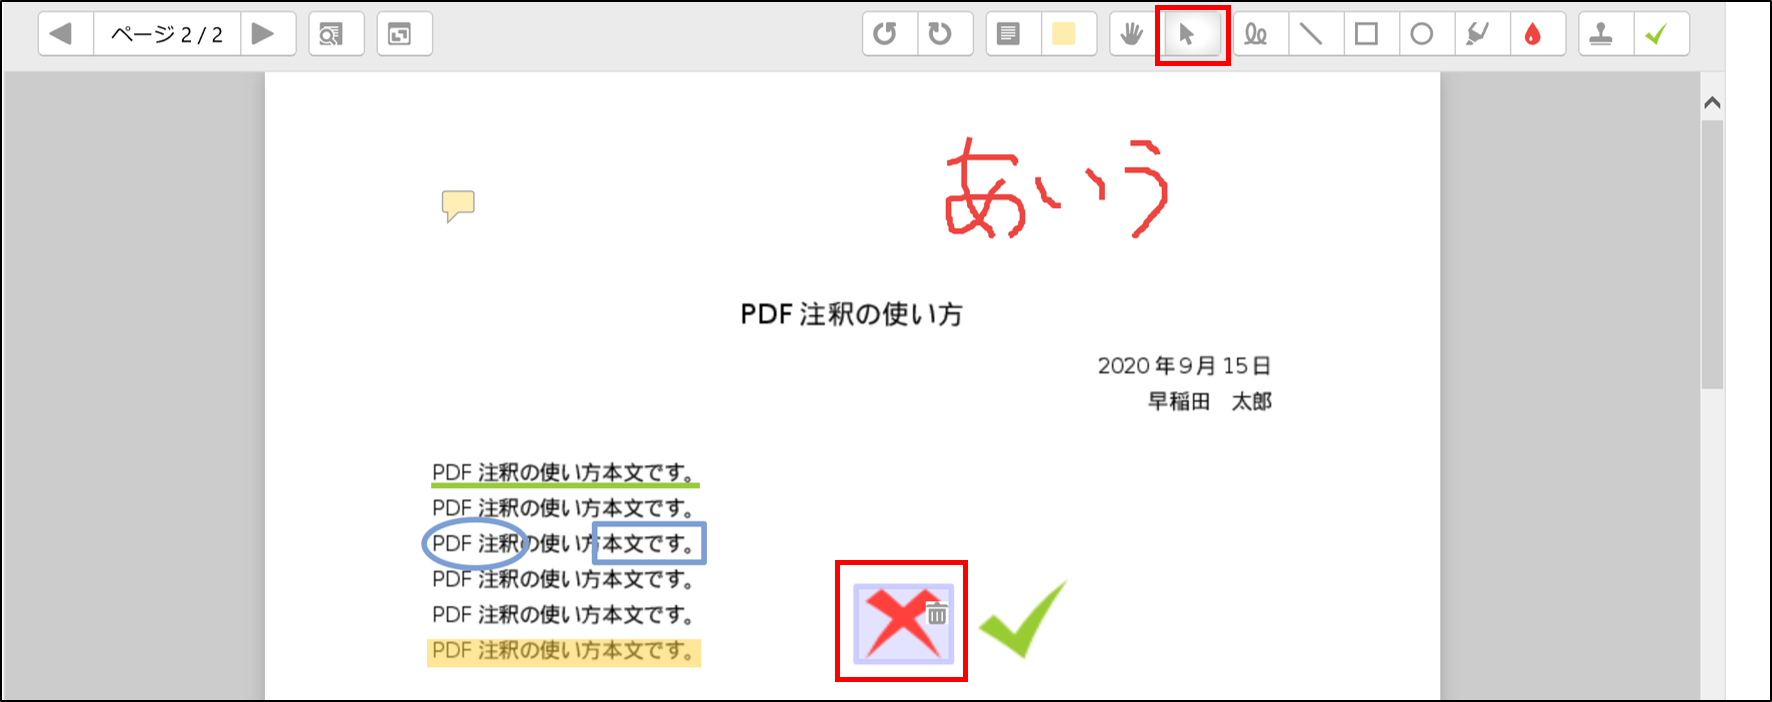
(16) Specify the stamp type. - To delete an annotation, click the cursor icon, then click the annotation you wish to delete. Click the trash can icon to delete the annotation.
- To continue grading, click the icon in the lower right corner to change the screen display and then enter a grade.
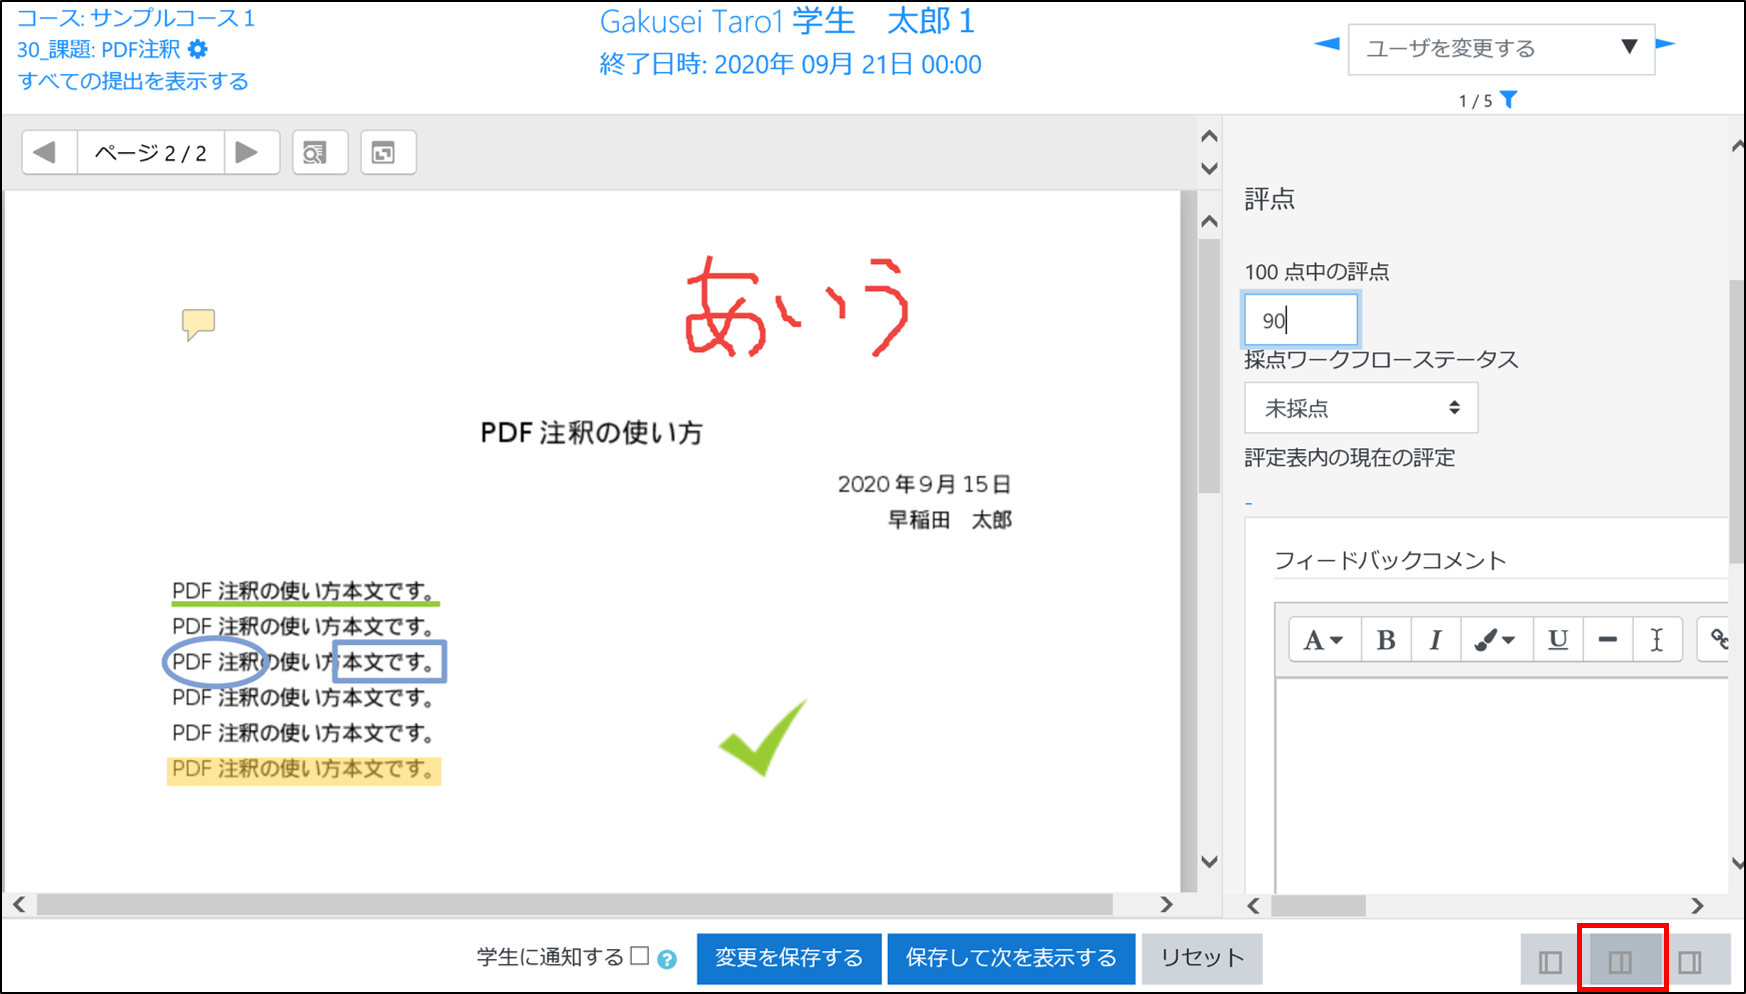
- Before saving, set whether or not students will be notified of the grade results by e-mail. Check the “Notify students” checkbox if you wish to notify them. Finally, click “Save Changes.

- Note
- When a grade is “released” in the grading workflow, the student will be notified by email that the grade is complete. If it is not “released,” the grade and feedback will not be made available to the student and will not be reflected in the grade.
If you would like to change the grading workflow status in a batch rather than individually, please see below.
- The grading results have been saved.
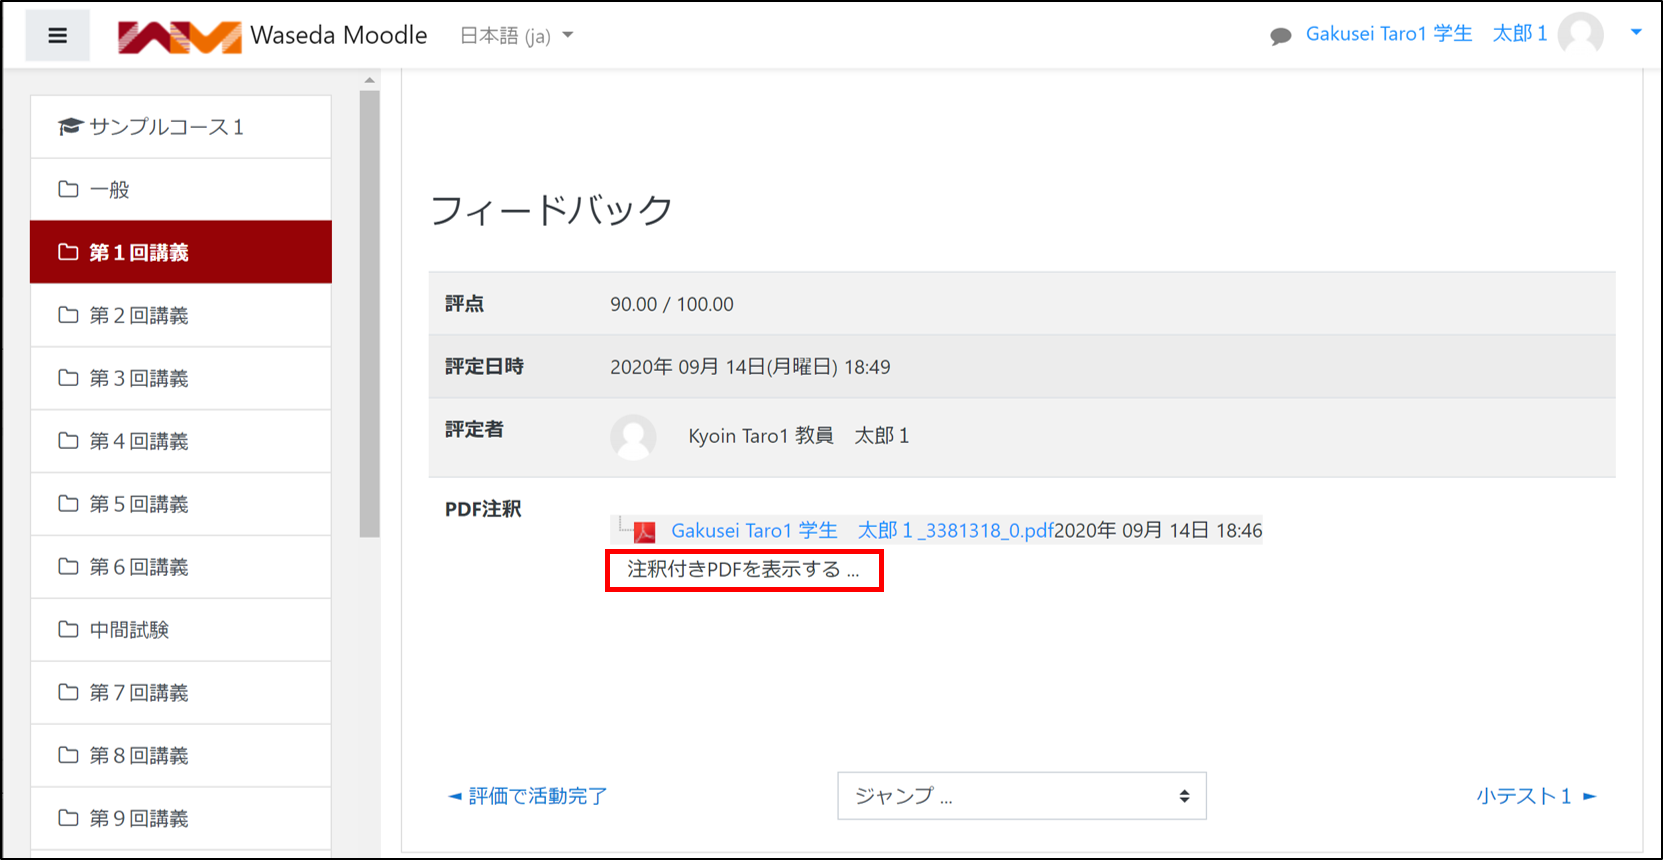
Enrollment Screen
Students can view feedback via PDF annotations from “View Annotated PDF…”.

File formats supported for PDF annotations
Files created in Word, Excel, and PowerPoint, as well as text files, are supported.
- Caution
- Garbled characters occur in some character codes of text files. Please use a character code that does not garble characters.
garbled text:UTF-8、ANSI
non garbled:UTF-8 (with BOM), UTF-16 LE、UTF-16 BE
- Caution
- Various files may be misaligned when converted to PDF; if text is cut off after conversion to PDF, please refer to the original submission file if necessary.
Last Updated on 2025-07-18

